2 Pickup Guitar Wiring Diagram
The majority of electric guitars have two pickups, which each sense the vibration of the guitar strings and convert it into an electrical signal. The signal from the pickups then passes through various electronic components that shape and control the final sound that is output from the guitar.
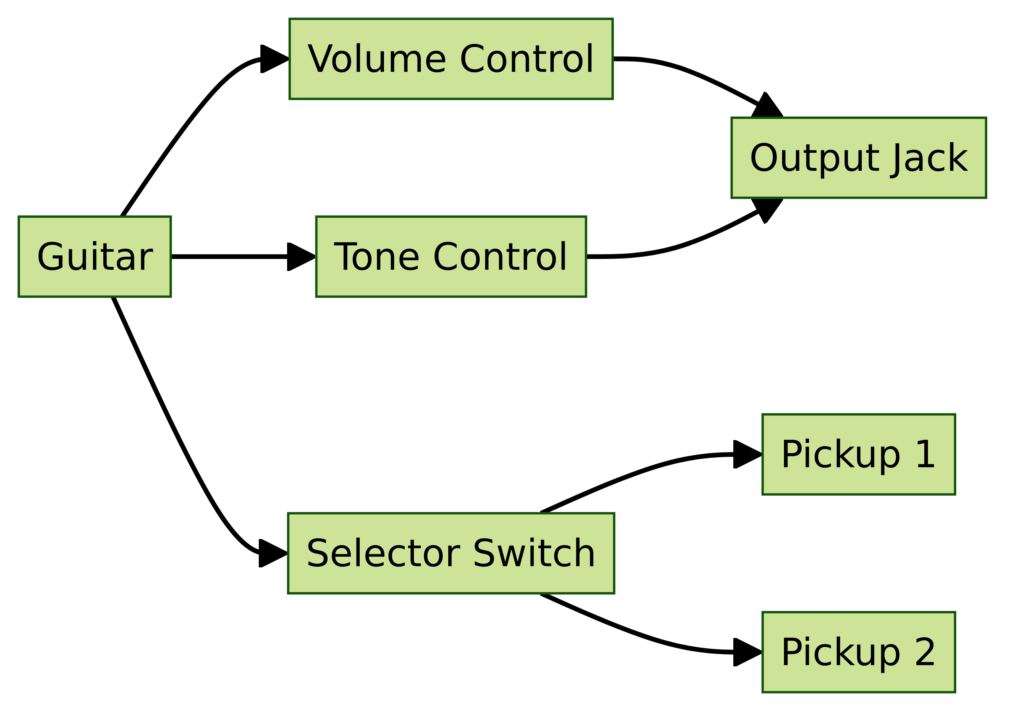
Some key components found in 2 pickup guitar electronics include:
- Pickups – The magnetic pickups that detect string vibrations. Common types are single-coils and humbuckers.
- Volume and Tone Controls – Allow players to control the output level and EQ shape.
- Selector Switch – Enables switching between pickups. Often 3-way switches.
- Output Jack – Where the signal is output from the guitar to cable and amp.
Understanding how these components connect and interact is where guitar wiring diagrams come into play.
2 Pickup Guitar Wiring Diagrams
Diagram 1:

Diagram 2:

Diagram 3:

Diagram 4:

Diagram 5:

How to Read Guitar Wiring Diagrams?
At first glance, guitar wiring diagrams can look confusing, with a mess of wires, switches and components. But they can actually be interpreted fairly easily with a key to the symbols.
Some standard symbols to recognize include:
- Wire Lines – The lines connecting components show wires and wire connections
- Pickups – Shown in diagram with coil windings – i.e. a humbucker pickup icon
- Pots – Shown as rectangles to represent potentiometers (volume and tone knobs)
- Capacitors – Small capacitors shown as two parallel lines
- Output Jack – Output jack symbol
- Toggle Switches – Switches shown as lines with an up/down switch icon
- Ground Connection – Shown as a downward facing arrow or ground symbol
Paths connecting these components show the flow of signal and components in circuit.
So by learning some basic symbols, you can follow the signal path through the guitar. This helps trace where issues could be arising when wiring.
2 Pickup, 2 Volume, 2 Tone Wiring Diagram
One of the most common wiring schemes for two pickup guitars is having dedicated volume and tone controls for each pickup.
This enables you to control the output and sound of each pickup independently.
To break this diagram down:
- There are two humbucker pickups shown with coil windings
- Each pickup has its own volume and tone potentiometer
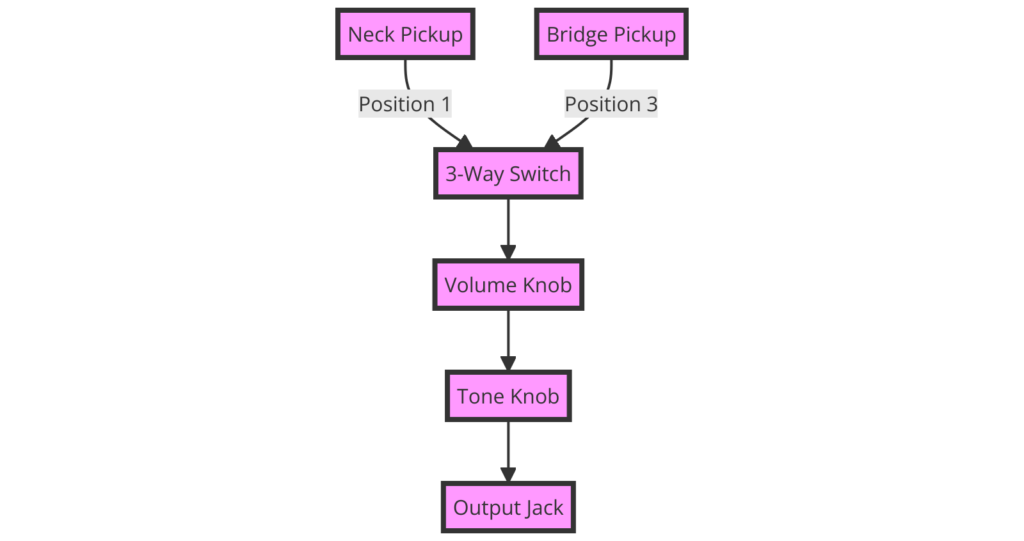
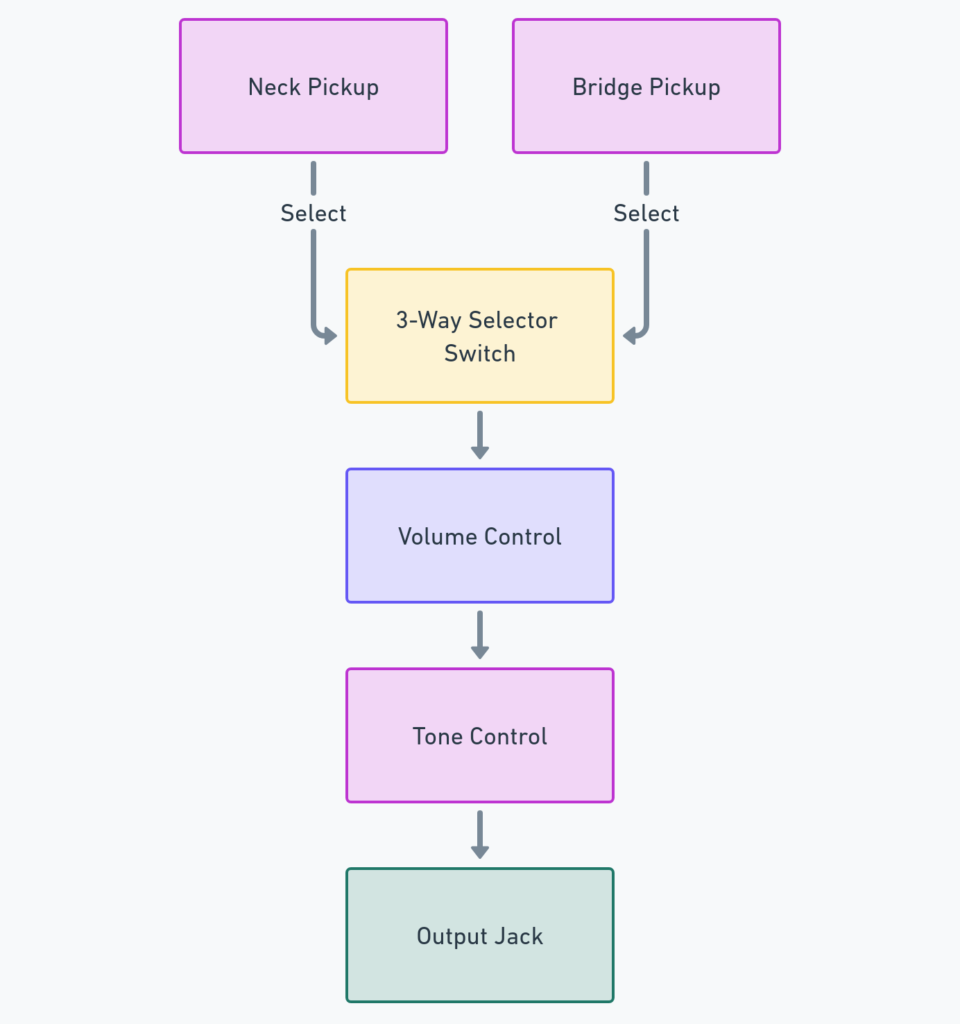
- The 3-way toggle switch enables pickup selection
- The signal is output via the output jack
- A common ground wire connects certain components
Looking at the switch, we can see three positions:
- Down position routes only to rear pickup
- Middle position has both pickups on
- Up position routes to front pickup only
So in the middle switch position, both pickups would be blended together.
Whereas with the dual volume and tone controls, you can separately shape the sound and output levels of the neck and bridge pickups.
This is a versatile wiring scheme that maintains the character of each pickup, while also allowing blended tones.
Troubleshooting Tips
Some common wiring issues to look out for with 2 pickup guitars:
- One pickup not working – Check connections from that pickup to switch, then switch to volume/tone pots and output jack.
- Output jack issues – Make sure hot wire from switch is connected to the output jack’s tab, not sleeve.
- Excess hum or buzz – This could indicate some loose ground connections that need to be re-soldered.
- Cracked solder joints – Reflow any joints that look frosty or cracked. Cracks interrupt signal flow.
- Bad switch or pot – Swap in known working components to test and isolate issue.
Using the diagram to trace connections helps diagnose wiring problems.
Final Thoughts
The key to confidently working with 2 pickup guitar wiring diagrams is learning some standard component symbols. Once you recognize the graphic symbols, tracing and troubleshooting connections becomes much easier.
It helps to have a diagram with you for reference when wiring guitars. And take it step-by-step checking connections. Over time, schematics start making intuitive sense building confidence in wiring skills.
Remember, even experienced guitar techs need to refer back to diagrams occasionally. So don’t feel overwhelmed looking at complex wiring diagrams. With the right reference tools and diligent troubleshooting, wiring circuits logically reveal themselves.
