1995 Ford F150 Fuel Pump Wiring Diagram: Explained!!
Is your 1995 Ford F150 suffering from no start or non-firing engine issues? Are you wondering if the problem lies with the fuel pump wiring or somewhere else in the system? Diagnosing electrical problems in a 20+ year old Ford truck can be frustrating, but this guide will walk you through the complete process step-by-step.
The key question we’ll answer is: how do you properly troubleshoot the power, grounding, wiring, and connections for a 1995 F150 fuel pump when the engine won’t start properly or doesn’t fire at all?
The short answer is that you’ll need to methodically test voltage and ground at multiple points in the fuel pump circuit, check all fuses, relays and connections, verify the wiring colors and diagram, and ultimately determine if the issues lies with the electrical side or the mechanical components.
Throughout this post, we’ll cover the specifics on using wiring diagrams to trace circuits, checking voltage at the pump connector, electrical testing for proper ground, confirming the inertia switch is not tripped, replacing the fuel filter and pump, problems caused by disconnected fuel lines, identifying aftermarket fuel pump wires, and much more. Let’s dive in!
Introduction to Fuel Pump Wiring in the 1995 Ford F150
The fuel system in the 1995 Ford F150 pickup relies on an electric fuel pump mounted inside the fuel tank to deliver pressurized gasoline from the tank to the engine. The pump itself requires a constant 12V power supply in order to run anytime the key is on. Two major wiring components control this flow of power – the fuel pump relay and inertia switch.
The fuel pump relay is the switch that directly controls power to the pump based on key position. When you turn the key to RUN, the relay closes allowing voltage from the battery to flow to the fuel pump. The inertia switch sits between the relay and pump and acts as a power interrupt in the event of a collision. When tripped, the switch cuts power to stop gasoline flow for safety considerations.
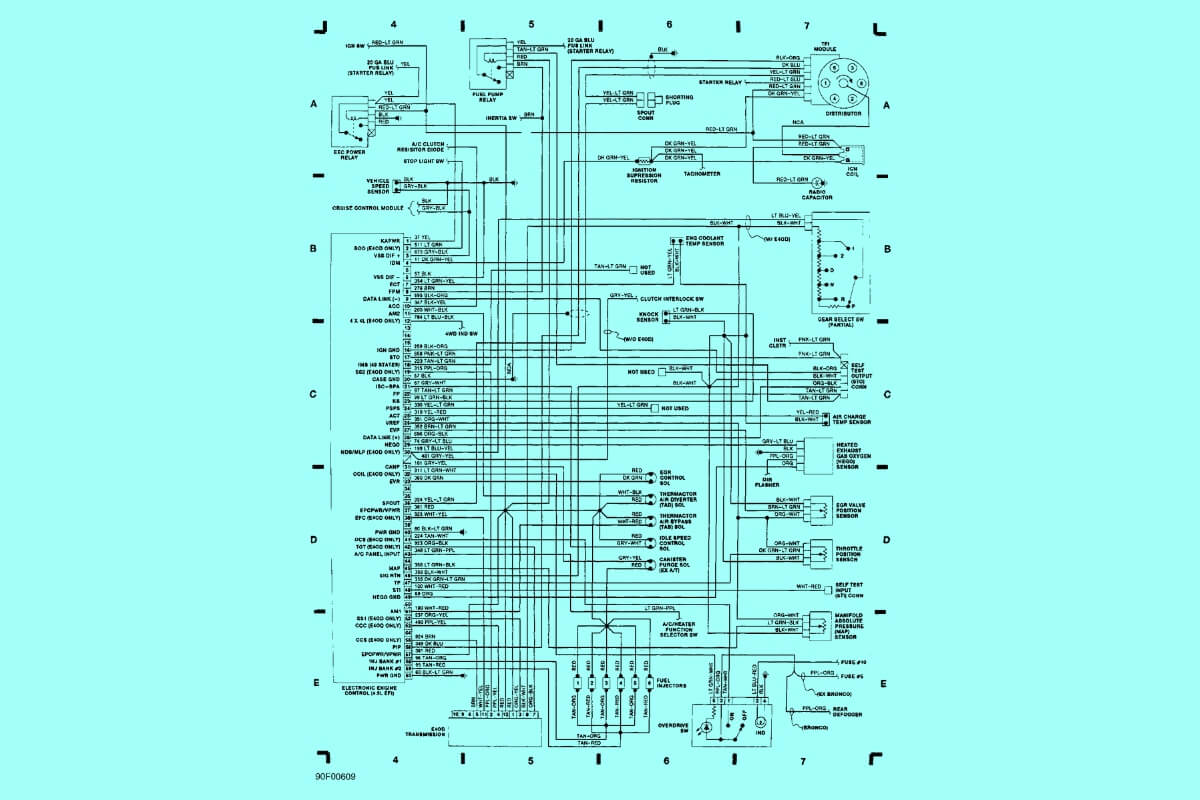
In the diagram above, you can follow the path from the fuel pump relay to the inertia switch and down to the fuel pump in the tank. The wire color codes are Pnk/Blk to pump and Tan/Wht to relay. The diagram shows the connector pin locations as well which we’ll cover later.
Now that you understand the basic operation of the 1995 F150 fuel system, we can focus on diagnostic steps for troubleshooting wiring and electrical issues. Knowing how to read and interpret the wiring diagrams is key to successfully resolving problems.
1995 Ford F150 Fuel Pump Wiring Diagrams
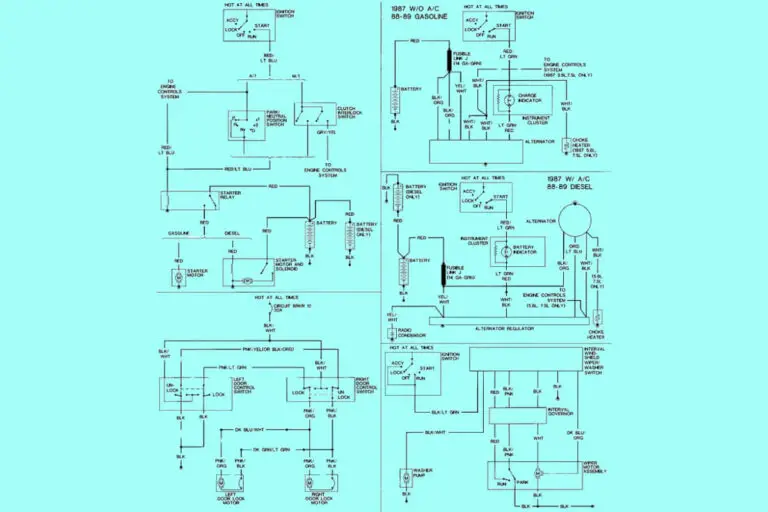
Diagram 1:
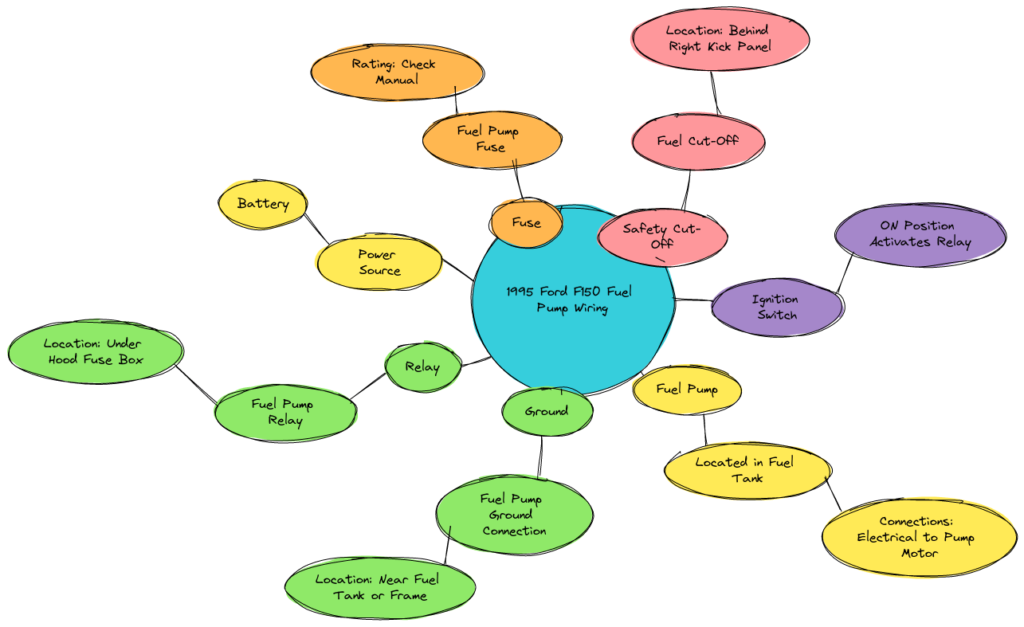
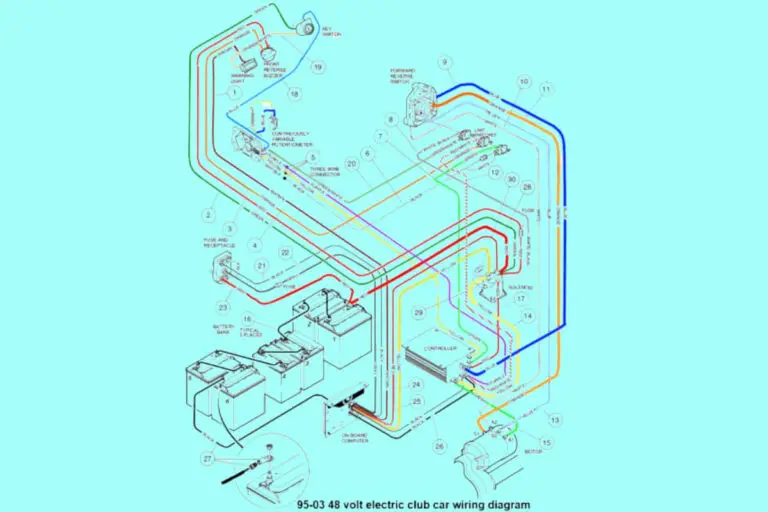
Diagram 2:
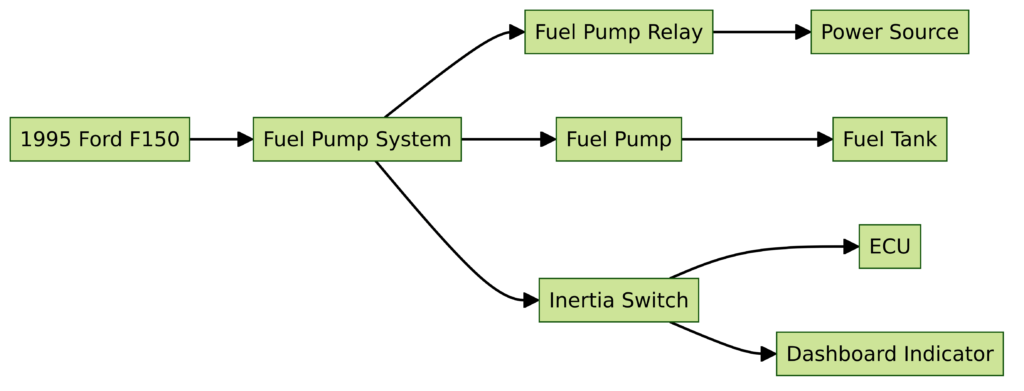
Diagram 3:
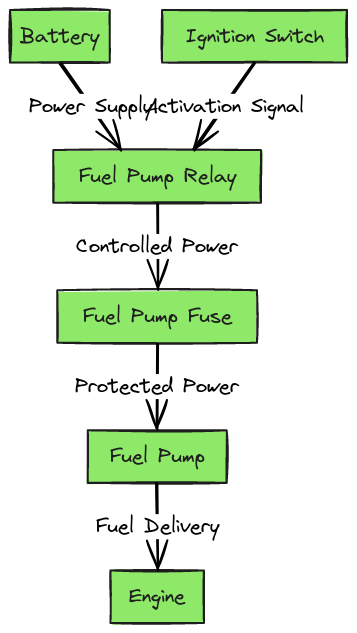
Diagram 4:

Diagram 5:

Diagram 6:
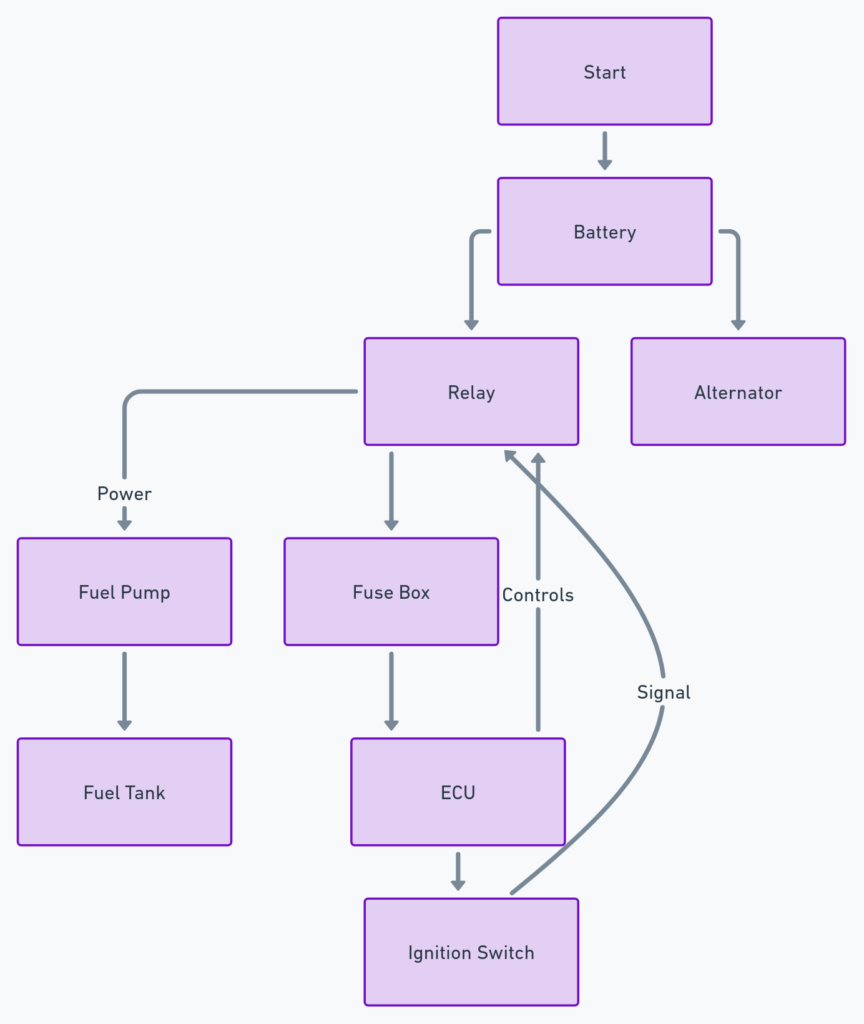
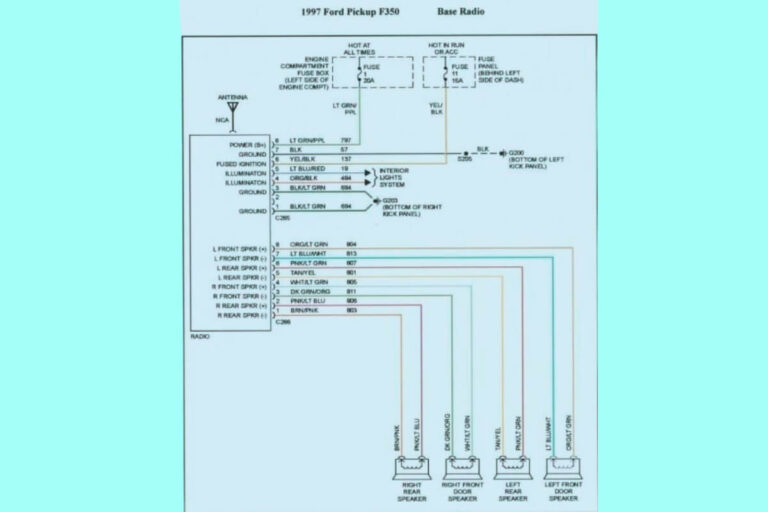
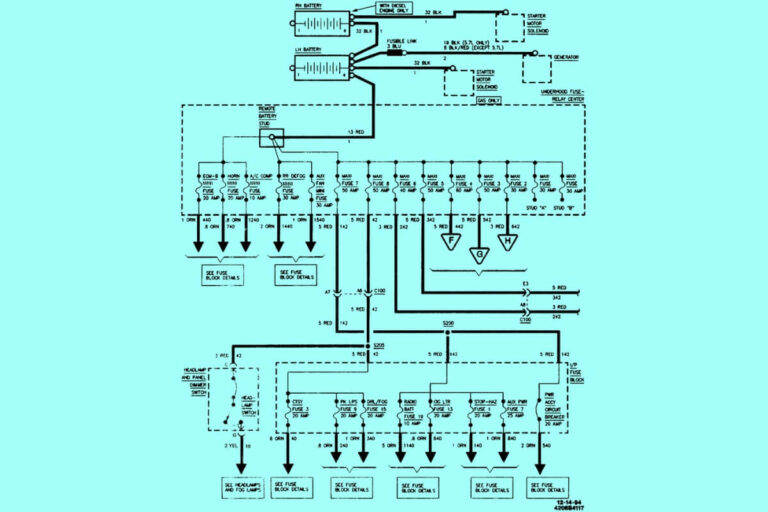
Having access to the actual wiring diagram for your truck is hugely beneficial during troubleshooting. Here is the basic wiring diagram that shows power flow to the fuel pump in a 1995 Ford F150:
In this diagram, you can see power originates from the main fuse box, flows through the fuel pump relay, through the inertia switch, and ultimately to the fuel pump in the gas tank.
The specific wire color that feeds the pump is a Pink/Black stripe wire. This wire sends 12V to the pump as soon as you turn the key on.
Within the tank itself, there is also a Tan/White wire that sends the 12V source back up to the fuel pump relay to complete the loop.
So in summary, the two most important wires that comprise the 1995 Ford F150 fuel pump circuit are:
- Pink/Black: 12V Feed Wire to Fuel Pump
- Tan/White: 12V Return to Fuel Pump Relay
When diagnosing, check both these wires along every inch for voltage, ground connection, fraying, etc. If 12V is missing on either wire, that will cause a no start condition due to fuel starvation.
Step-by-Step to Diagnose Power at the 1995 Ford F150 Fuel Pump
The most common causes of a no start or non-firing engine are insufficient fuel pressure or volume at the engine. Before replacing expensive parts like the pump or filter, you should confirm power is actually making it to the pump itself. Here is the complete process for checking power at the pump:
1. Locate and Check the Fuel Pump Fuse and Relay
Using your Ford F150 owner’s manual or cover diagram, find the fusebox under the dash. Look for the fuel pump fuse first (typically 20A) and check for any burns or breaks in the filament inside. You can also check with a multimeter that voltage passes through both sides when the key is on.
Next, find the fuel pump relay nearby in the fusebox as well. There will be (3) 12V blade terminals you can backprobe with the key on. Check for 12V on at least (2) pins – power in and out to fuel circuit. No voltage likely indicates a bad relay that requires replacement.
2. Verify the Inertia Switch Has Not Tripped
Before moving under the truck, it’s important to check that the inertia switch hasn’t been activated. There will be an actual button on a switch near the fusebox you can press to reset. If your Ford won’t start after an accident, this is often the culprit. You can also have someone turn the key to RUN while listening/feeling for fuel pump noise/vibration at the tank.
3. Check Voltage at the Fuel Pump Connector
Next, locate the electrical connector at top of fuel tank that has a single wire coming from the body harness. With Key ON, backprobe the wire with a multimeter and check for 12V. If no power here, there is an issue in wiring from relay/switch back to this point. Starter fluid in throttle body will confirm pump vs. fuel delivery issue.
No voltage means checking every connection and ground back to the relay. You’ll need to inspect wires for cuts, bare copper, or pinched sections that prevent flow. Also ensure the engine and chassis grounds are clean and tight for proper circuit operation.
4. Determine if Pump is Running with Power Applied
If 12V is present on the wire, focus now shifts to the pump itself. You can attempt gently tapping on the tank while an assistant monitors voltage looking for drops. Spray penetrant on the connector and see if operation changes. Carefully inspect and reconnect if corrosion exists.
Ultimately though, no noise/vibration felt means replacing the old fuel pump. They commonly fail over time and use eventually wears the brushes/armature inside these motors. Installing a new fuel pump and sending unit restores fuel flow to get your old Ford truck running smoothly again.
5. Retest and Confirm Proper Operation
Finish up by double checking voltage during key on, listening for pump operation, and verifying engine starts before bolting everything back up. It will save you frustration down the road. Don’t forget to also replace the fuel filter which is probably old and dirty if you had sediment blocking the pump itself.
By systematically working through these diagnostic steps, you can isolate a faulty fuel pump versus electrical gremlins in just about any Ford vehicle. Certain years and engines do have nuances so always refer to the factory information if needed.
Now that we’ve covered power delivery, let’s look at some other wiring checks and tips for fuel pump issues on the 1995 F150:
Identifying Aftermarket Fuel Pump Wire Connections
If you end up needing to install an aftermarket fuel pump, there are additional wiring considerations involved. Make 100% sure to get the correct replacement pump for a 1995 Ford F150 with the 5.0 or 4.9 liter EFI V8 engine. There were different models over the years.
The aftermarket pump should come with its own wiring pigtail that splices into the factory harness. These typically have (3) wires – power, ground, and signal:
- Red: Constant 12V Power Source from Fuel Pump Relay
- Black: Chassis Ground Connection
- Green: RPM Signal to Regulate Pump Speed
So in addition to connecting the 12V positive and ground wires per above, be sure to wire up the signal connector. This regulates pump pressure/volume. Some pumps monitor this wire for faults so leaving disconnected can cause issues.
Refer to your new pump’s documentation for the correct splice procedures. Make solid mechanical and electrical connections to avoid any leaks or intermittents after install. Proper wiring ensures your new pump operates reliably for years to come.
Locating and Using the 1995 Ford F150 Wiring Diagrams
Since you’ll be testing various circuits related to the fuel pump wiring, it’s imperative you know how to find and correctly use the wiring diagrams. Factory service manuals provide the most accurate diagrams with wire color codes and connector pinouts detailed.
Here are some tips for utilizing the diagrams during diagnosis:
- Identify the body harness connectors first and trace wires out to components from there. You’ll backprobe and test wires at connectors typically.
- Note wire color, harness names, splice points, ground locations, and connections to determine exact circuits.
- Scan entire length of wire and component connections to find shorts, bare copper, or corrosion.
- Use continuity function on multimeter to follow path when unclear or wires disappear under wraps.
So download or lookup complete Ford wiring diagrams for your truck’s model year and engine. Navigating them takes practice but soon you’ll be able diagnose electrical gremlins much quicker than guessing!
Step-by-Step for Disconnecting/Replacing F150 Fuel Lines
Over years of heat cycles and vibration, rubber fuel lines between the fuel tank and engine can dry out and crack. This allows air ingress into the system leading to pressure loss and eventual no start situations. Replacing old brittle lines restores system integrity:
Here is the complete process for replacing fuel lines along frame:
1. Relieve Fuel System Pressure
- Pull relay so pump isn’t suddenly activated with key on
- Carefully disconnect line from top of tank, catch some gas
- Allow pump to run until engine stalls indicating line is empty
2. Raise and Support Vehicle Properly
- Use quality jack stands with redundancy when under truck
- Check stability before climbing underneath!
3. Disconnect Old Lines at Filter and Pump
- Fuel filter is generally located along the frame mid way
- Release clamps at filter and forward at pump inlet
- Plug ends to prevent debris entering system
4. Remove Retaining Clips Along Length
- Sections clipped to body brackets can stay if good
- Check for cracks at bend points
5. Install New Fuel Line Along Frame
- Ensure you have correct size fuel line for engine
- Run from tank connection down to filter and pump
- Insert securely into filter and pump ports
6. Reconnect Electrical and Check for Leaks
- Carefully lower vehicle, torque wheels
- Reconnect battery and fuel pump relay
- Turn key to pressurize system and check for leaks at fittings
- Verify fuel pump operation and engine starts
Be very diligent when working on pressurized fuel systems. No sparks, shorts, or ignition sources until the system is leak tested and confirmed safe. New lines are fairly straightforward but take precautions.
Conclusion and Takeaways for 1995 Ford F150 Fuel Pump Diagnosis
In this 1995 Ford F150 fuel pump and wiring guide, we’ve covered the key steps to systematically diagnose no start and no spark issues due to electrical faults or pump failures. By checking voltage and electrical connections methodically back to the power source, you can determine whether replacement parts or wiring repairs will get your truck back on the road.
The main takeways when troubleshooting 1995 Ford F150 fuel pump issues are:
- Confirm relay, fuse, inertia switch are functioning properly before moving on
- Check for power at the pump harness connector before assuming it’s bad
- Ensure adequate grounds exist on chassis and engine
- Inspect every wire and connection for corrosion or physical damage
- Utilize the factory wiring diagrams to follow specific circuits
- Reconnect everything tightly and liquid seal as added protection
Finding accurate step-by-step procedures for older vehicles can be frustrating. Hopefully this guide has provided direction to resolve your particular 1995 F150 fuel pump problems confidently. Please leave feedback in the comments if you found it useful or have additional tips!

