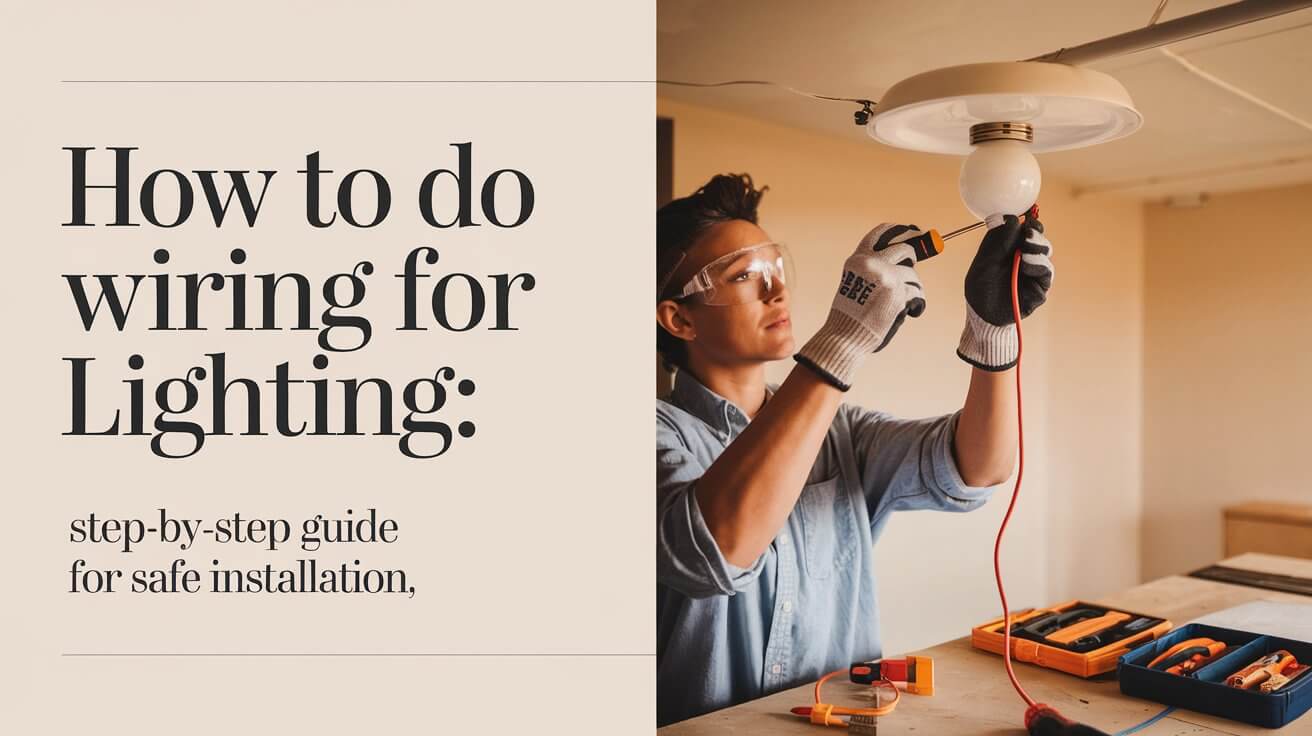
How to Do Wiring for Lighting? Step-by-Step Guide for Safe Installation

Wiring for lighting can seem complex at first, but with the right tools, a basic understanding of electrical circuits, and careful planning, it’s an achievable task for most DIY enthusiasts. Whether you’re installing ceiling lights, wall sconces, or exterior fixtures, wiring is a crucial step. The process involves running live wires from your power source to light fixtures, connecting them to a switch, and ensuring the system is grounded to prevent electrical hazards.
Safety Precautions and Tools Needed
Safety First: Power Off
Before starting any electrical work, it’s critical to ensure your safety. The first step is always to turn off the power at your home’s main circuit breaker. Use a voltage tester to double-check that no current is running through the wires before proceeding.
Necessary Tools and Materials
Having the right tools makes the job easier and safer. Here’s a list of basic tools you’ll need:
- Voltage tester
- Wire strippers
- Insulated screwdrivers
- Electrical tape
- Wire nuts
- Pliers
For materials, you’ll require:
- Electrical cable (commonly Twin and Earth for household lighting circuits)
- Light fixtures
- Switches (single-pole, three-way, or dimmer switches)
- Wall boxes (for mounting switches and fixtures)
Understanding Wiring Color Codes
Wiring color codes vary by country, so it’s essential to understand the colors for live, neutral, and ground wires.
- In the US:
- Black: Hot (live)
- White: Neutral
- Green or bare copper: Ground
- In the UK:
- Brown: Live
- Blue: Neutral
- Green/Yellow: Ground
Types of Lighting Circuits
Loop-In Circuit
A loop-in circuit is the most common type used in homes today. It allows for multiple lights to be controlled by a single switch. In this configuration, the live wire loops in and out of each light fitting before returning to the power source. This type of wiring simplifies installations because the switch and light share the same live circuit.
Radial or Junction Box Wiring
An older method, the radial circuit, uses a junction box to split off wires to different fixtures. Although it’s less common in modern homes, you may encounter this method when updating older buildings. Radial circuits tend to be more complicated, as each fitting requires its own wiring back to the junction box.
Three-Way and Two-Way Switches
Three-way switches (or two-way switches in the UK) allow you to control a single light from two different switches, which is useful in long hallways or staircases. Understanding how to wire these setups requires careful attention to traveler wires that connect the switches to one another.
Step-by-Step Wiring for Lighting
Planning Your Lighting Layout
Before starting any wiring work, it’s essential to plan the layout of your lighting circuit. Determine where you want your light fixtures and switches, considering practicalities like ease of access and the function of the space.
Identifying and Preparing the Wires
In most homes, you’ll find three wires: live, neutral, and ground. Always use a voltage tester to verify the wires’ status before touching them. Strip the insulation from each wire, leaving about 1/2 inch exposed for connections.
Wiring a Ceiling Light
- Turn Off the Power: As mentioned, always begin by turning off the power at the breaker.
- Install the Ceiling Fixture: Attach the light fixture to the ceiling, following the manufacturer’s instructions.
- Connect the Ground Wire: The bare copper or green wire is the ground wire. Twist it onto the grounding screw in the junction box.
- Connect the Neutral Wire: Attach the white (neutral) wire from the ceiling box to the white wire from your fixture.
- Connect the Live Wire: Finally, connect the black (live) wire to the live wire of the light fixture.
Connecting to the Switch
The next step is to wire the light switch. In a basic single-pole switch:
- Connect the Live Wire: The live wire from your power source attaches to the common terminal of the switch.
- Connect the Switched Live: Run a wire from the L1 terminal on the switch to the light fixture’s live wire.
- Ground the Switch: Make sure the switch box is grounded by connecting the ground wire.
Connecting Light Fixtures
For wall lights or additional ceiling fixtures, repeat the same steps, making sure to connect the neutral, live, and ground wires securely. Be sure to use wire nuts to twist together wires where necessary for a more secure connection.
Final Checks and Powering On
Once all the connections are made, tuck the wires neatly into the junction box, secure the fixtures to the wall or ceiling, and replace the switch plate. Restore power at the circuit breaker, and test the lights by flipping the switch.
Wiring Specific Lighting Types
Wiring Wall Lights
Wall-mounted light fixtures follow similar wiring principles to ceiling lights, but their placement and wiring paths may differ. Be sure to install wall lights at a height that fits the room’s purpose, such as above eye level for reading lights.
Wiring for LED Lights
LED lighting offers energy efficiency and often requires specific wiring considerations, particularly if you’re using dimmers. LED dimmers require a compatible switch and may have different load requirements than traditional bulbs.
Outdoor Lighting Wiring
For exterior lighting, use waterproof electrical boxes and weather-resistant fittings. Outdoor lights should always be connected to a ground fault circuit interrupter (GFCI) to protect against moisture-related electrical hazards.
Troubleshooting Common Wiring Issue
No Power to Light Fixture
If your light fixture doesn’t work after wiring, check the power supply first. A tripped circuit breaker is often the culprit. Use a voltage tester to ensure current is flowing to the fixture.
Flickering Lights
Loose connections are a common cause of flickering lights. Check that all wire connections are secure, and consider replacing the bulb if necessary.
Safety Issues: Sparks and Smoke
If you notice sparking or smoke after connecting wires, immediately cut the power at the circuit breaker and disconnect the fixture. This may indicate a serious wiring error or faulty equipment. In this case, it’s best to consult a professional electrician.
Understanding Local Building Regulations
DIY vs. Hiring a Professional
While basic lighting wiring tasks are manageable for most DIYers, certain projects—like bathroom or kitchen installations—may require adherence to building codes and should be completed by a licensed electrician. Always check local regulations before starting any large-scale wiring project.
Notifiable Work
In many countries, certain electrical work must be reported to building authorities. For example, in the UK, wiring installations in kitchens or near water must comply with Part P of the building regulations.
Pro Tips for Beginners
Label Your Wires
When working on more complex wiring projects, it’s a good idea to label your wires. This ensures you can easily identify them later and prevents confusion during installation.
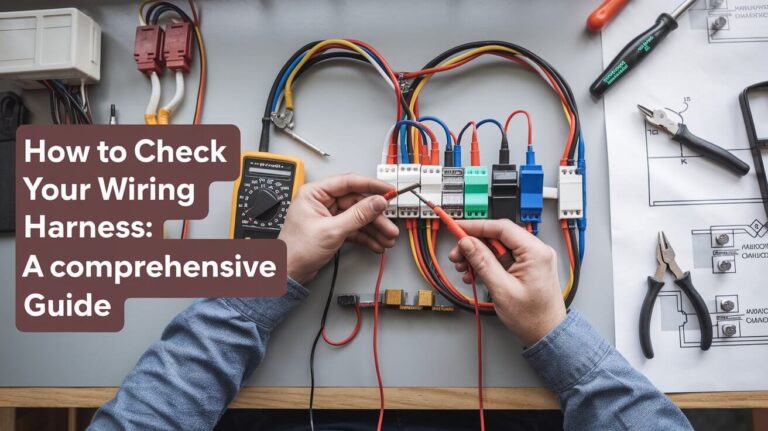
How to Use a Domestic Test Meter
A test meter helps you verify whether a wire is live or not. Always test wires before handling them, especially if you’re unsure whether the power is truly off.
Conclusion
Wiring for lighting can be a rewarding DIY project when approached with care and the proper precautions. By planning your layout, understanding your circuit type, and following step-by-step wiring instructions, you can successfully wire new light fixtures or replace existing ones. However, never hesitate to contact a licensed electrician if you encounter problems or need assistance with more complex setups. Safety is always the top priority.


