How to Bleed Brakes: A Complete Step-by-Step Guide for DIY

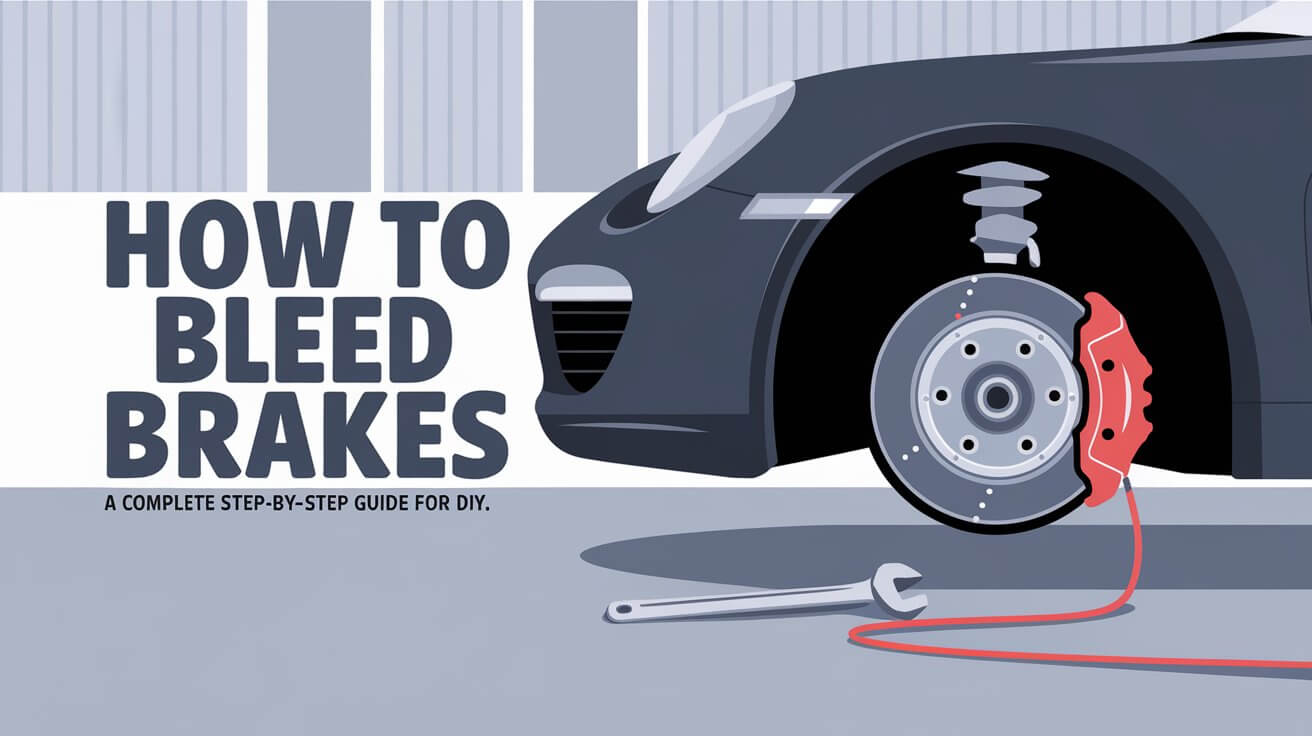
Bleeding your brakes is an essential maintenance task to keep your braking system working effectively and safely. Over time, air can enter your brake lines, reducing brake performance and making your brake pedal feel soft or spongy. By bleeding the brakes, you remove the trapped air, allowing your vehicle to stop quickly and predictably.
In this comprehensive guide, we’ll walk through various methods of brake bleeding, the tools you’ll need, and important safety tips. Whether you’re a seasoned mechanic or a DIY car enthusiast, these steps will help you bleed your brakes effectively.
What Is Brake Bleeding and Why Is It Important?
Brake bleeding is the process of removing air bubbles from the brake lines. When air gets into the brake system, it can compress under pressure, making the brake pedal feel spongy and reducing braking power. This can happen after repairs such as replacing brake pads, calipers, or brake lines, or even from routine wear over time.
Without properly bleeding your brakes, your vehicle’s stopping power is compromised, which can lead to dangerous situations, especially during emergencies. Properly bled brakes ensure that your brake fluid is free of air, providing a solid and responsive brake pedal.
Tools You’ll Need to Bleed Brakes
Before you start bleeding your brakes, gather the following tools and materials:
- Brake fluid (check your vehicle’s manual for the recommended type)
- A line wrench or suitable spanner for the bleeder valves
- Clear silicone tubing (aquarium tubing works well)
- A catch bottle or container for used brake fluid
- Jack stands and a car jack to lift the vehicle
- Safety gloves and eye protection
- Rags or paper towels to wipe any brake fluid spills (brake fluid is corrosive to paint)
Some advanced methods may require additional tools, such as a vacuum pump, pressure bleeder, or speed bleeder screws. We’ll discuss these tools in more detail in the bleeding method sections.
Types of Brake Bleeding Methods
There are several methods for bleeding brakes, each with its pros and cons. The method you choose will depend on your comfort level, tools available, and the specific needs of your vehicle.
Manual Brake Bleeding
This is the most common method of brake bleeding, often requiring two people. One person pumps the brake pedal while the other opens and closes the bleeder valves to release air and fluid.
Steps for Manual Brake Bleeding:
- Start by jacking up the vehicle and securing it on jack stands. Remove the wheels for easier access to the bleeder valves.
- Attach the silicone tubing to the bleeder valve on the wheel furthest from the master cylinder (usually the rear passenger side). Place the other end of the tube in a catch bottle partially filled with brake fluid.
- Have your assistant press the brake pedal several times and then hold it down. While they hold the pedal, loosen the bleeder valve slightly to let air and fluid escape.
- Close the valve before your assistant releases the brake pedal. This prevents air from being drawn back into the system.
- Repeat this process until clear brake fluid without bubbles flows from the bleeder valve.
- Move to the next wheel and repeat, following the correct bleeding sequence (typically rear passenger side, rear driver side, front passenger side, front driver side).
Vacuum Brake Bleeding
Vacuum bleeding is a solo method that uses a vacuum pump to pull fluid through the system, removing air along the way. This method is faster and allows for a one-person operation.
Steps for Vacuum Brake Bleeding:
- Attach the vacuum pump to the bleeder valve with a silicone hose.
- Pump the vacuum to create negative pressure, which pulls air and fluid through the line.
- Open the bleeder valve and allow the fluid to be sucked into the pump’s catch container.
- Close the valve when no more air bubbles are visible in the tubing.
This method is efficient, but make sure to monitor the brake fluid reservoir closely. If it runs dry, air will re-enter the system, undoing your progress.
Pressure Brake Bleeding
Pressure bleeding works by forcing new brake fluid into the system using air pressure. This method is ideal for vehicles with ABS or complex brake systems where manual or vacuum bleeding may not be sufficient.
Steps for Pressure Brake Bleeding:
- Attach the pressure bleeder to the master cylinder reservoir.
- Pressurize the system using the pump, ensuring that the reservoir stays filled with fresh brake fluid.
- Open the bleeder valve on the furthest wheel, and fluid will be pushed out by the pressure.
- Close the valve once clear fluid is coming out.
Pressure bleeding is very effective and is commonly used in professional settings, but the equipment can be more expensive and specialized.
Gravity Brake Bleeding
Gravity bleeding is the simplest method and requires minimal tools. It uses gravity to pull fluid through the brake lines, pushing out air as it flows.
Steps for Gravity Brake Bleeding:
- Jack up the car and remove the wheels to access the bleeder valves.
- Open the bleeder valve and let gravity do the work. Fluid will slowly flow out, carrying any air with it.
- Keep the master cylinder reservoir filled with brake fluid to prevent air from entering.
- Close the bleeder valve when no more bubbles are visible in the fluid.
This method is slow and best suited for simple brake systems without ABS. It’s an easy, low-tech solution, but it may not be as effective for more complex brake setups.
Reverse Brake Bleeding
Reverse bleeding pushes brake fluid from the bleeder valve up towards the master cylinder, following the natural direction air bubbles would rise. This method is highly effective at removing stubborn air pockets, particularly in clutch or ABS systems.
Steps for Reverse Brake Bleeding:
- Attach a reverse bleeder tool to the bleeder valve.
- Pump the fluid from the caliper back up into the system, pushing air towards the master cylinder.
- Continue pumping until all air bubbles are cleared from the system.
Reverse bleeding is particularly useful for vehicles with difficult-to-bleed systems, and the equipment is readily available.
Speed Bleeding
Speed bleeders are special bleeder screws with internal check valves, allowing for a one-person brake bleeding process. They prevent air from entering the system when the brake pedal is released.
Steps for Speed Bleeding:
- Replace the regular bleeder screws with speed bleeders.
- Attach a silicone hose to the speed bleeder and place the other end in a catch bottle.
- Pump the brake pedal, and the speed bleeder will allow air and fluid to escape without letting air back in.
- Continue until no more bubbles are present.
Speed bleeders are an excellent upgrade if you plan to bleed your brakes regularly by yourself.
Step-by-Step Guide: How to Bleed Brakes Using the Manual Method
While there are multiple methods to choose from, manual brake bleeding is the most common for DIY mechanics. Here’s a detailed guide on how to do it:
- Prepare the Vehicle:
- Park the vehicle on a flat surface and engage the parking brake.
- Use a jack to lift the car and place it securely on jack stands. Remove the wheels to access the bleeder valves.
- Prepare the Brake System:
- Clean the brake fluid reservoir and top it up with fresh brake fluid. Avoid using old or contaminated fluid.
- Attach clear silicone tubing to the bleeder valve on the wheel furthest from the master cylinder.
- Begin Bleeding:
- Have your assistant pump the brake pedal several times and hold it down firmly.
- Open the bleeder valve slightly and watch for fluid and air bubbles to escape.
- Close the valve before your assistant releases the brake pedal.
- Repeat the Process:
- Continue this process, topping off the reservoir as needed, until no more air bubbles are visible in the fluid.
- Move to the next wheel, following the proper bleeding sequence.
- Final Check:
- Once all the wheels are bled, check the brake pedal for firmness. If it still feels soft, you may need to repeat the process.
- Test Drive:
- Perform a careful test drive to ensure the brakes are working correctly.
How to Bleed Brakes by Yourself
If you don’t have an assistant, you can still bleed your brakes using vacuum, pressure, or speed bleeding methods. These methods allow for one-person operation and are often faster than manual bleeding.
Vacuum bleeding, in particular, is a popular solo option. By attaching a vacuum pump to the bleeder valve, you can pull fluid through the system without needing a second person to pump the brake pedal.
How to Bleed Brakes with ABS (Anti-Lock Brake System)
Bleeding brakes on a vehicle with ABS is similar to non-ABS vehicles, but there are a few important considerations. For older ABS systems, you can often bleed the brakes using traditional methods. However, newer ABS systems may require the use of a diagnostic tool to cycle the ABS pump and valves to ensure all air is removed from the system.
In some cases, the vehicle’s ABS system must be placed in “service mode” to properly bleed the brakes. Consult your vehicle’s manual or a professional mechanic if you’re unsure about the process.
How Often Should You Bleed Your Brakes?
It’s generally recommended to bleed your brakes every two to three years, or whenever you notice a spongy brake pedal. Regular brake fluid changes are essential for keeping the brake system functioning properly. If you’re unsure when to bleed your brakes, follow the manufacturer’s recommendation in your vehicle’s manual.
Common Mistakes to Avoid When Bleeding Brakes
- Letting the Master Cylinder Run Dry: Always keep an eye on the brake fluid reservoir to ensure it doesn’t run dry during the bleeding process.
- Bleeding incontinued:**
- Bleeding in the Wrong Order: Follow the correct bleeding sequence, starting with the wheel furthest from the master cylinder and working your way closer. For most vehicles, this sequence is rear passenger, rear driver, front passenger, front driver.
- Failing to Protect Surfaces: Brake fluid is corrosive to paint. Be sure to wipe up any spills immediately to prevent damage to your vehicle.
- Using Contaminated Brake Fluid: Always use fresh brake fluid from a sealed container. Old or contaminated fluid can introduce moisture into the system, leading to corrosion or brake failure.
Can You Bleed Brakes Without Removing the Wheels?
In some cases, it is possible to bleed brakes without removing the wheels, depending on your vehicle’s design and the location of the bleeder valves. On some disc brake setups, the bleeder valve is easily accessible through the wheel spokes, allowing you to bleed the brakes without the need to remove the wheels.
However, removing the wheels provides better access to the bleeder valves and allows you to inspect the brake components for wear or damage. This is especially important for drum brakes or vehicles with complex braking systems, where you’ll need clear access to the bleeder valves.
Troubleshooting: What to Do if Your Brakes Still Feel Soft After Bleeding
If your brake pedal still feels soft after bleeding, there are several potential causes:
- Trapped Air: If air is still trapped in the system, you may need to repeat the bleeding process. Make sure to follow the correct bleeding sequence and double-check that no air is entering the system through a leaky bleeder valve.
- Low-Quality Brake Fluid: Using low-quality or old brake fluid can result in a spongy brake pedal. Make sure you’re using fresh, high-quality fluid as recommended by your vehicle’s manufacturer.
- Leaks in the Brake System: Inspect the brake lines, calipers, and master cylinder for leaks. Even a small leak can cause the pedal to feel soft or spongy.
- Master Cylinder Issues: If the master cylinder is faulty or worn, it may not be able to generate the necessary pressure. In this case, you may need to replace the master cylinder.
If you’ve checked all these potential causes and the brakes still don’t feel right, it’s a good idea to consult a professional mechanic.
Final Safety Check After Bleeding Brakes
Once you’ve completed the bleeding process, perform a final safety check to ensure everything is in order:
- Check for Leaks: Inspect each bleeder valve for leaks and ensure they are tightly closed.
- Test the Brake Pedal: Press the brake pedal to ensure it feels firm and responsive. A spongy or soft pedal indicates that air may still be in the system.
- Perform a Test Drive: Carefully drive the vehicle at low speeds to test the brakes in a controlled environment. Make sure the brakes feel strong and responsive before driving in regular traffic.
Frequently Asked Questions
Can I Bleed Brakes Alone?
Yes, you can bleed brakes by yourself using methods like vacuum bleeding, pressure bleeding, or speed bleeders. These methods allow for solo operation without needing a second person to pump the brake pedal.
What Type of Brake Fluid Should I Use?
Always use the brake fluid recommended by your vehicle’s manufacturer. This information can be found in your vehicle’s manual or on the brake fluid reservoir cap. Common types include DOT 3, DOT 4, and DOT 5 brake fluid.
Is Brake Bleeding Necessary After Changing Pads?
While it’s not always necessary to bleed the brakes after changing the brake pads, it is a good idea if the brake pedal feels soft or if the brake system has been opened (e.g., if you’ve replaced a caliper or brake line). If the brake fluid is old or contaminated, bleeding the brakes can improve braking performance.
How Long Does It Take to Bleed Brakes?
The time it takes to bleed brakes depends on the method you’re using and your familiarity with the process. Manual bleeding typically takes around 30 minutes to an hour for all four wheels. Vacuum and pressure bleeding can be faster, often taking 20 to 30 minutes.
Conclusion: Maintaining Brake Safety with Regular Brake Bleeding
Regular brake maintenance, including bleeding your brakes, is essential to ensure your vehicle stops safely and efficiently. Whether you’re using a simple manual method or a more advanced pressure or vacuum bleeding system, removing air from your brake lines will help keep your brake pedal firm and responsive.
Remember, bleeding your brakes isn’t just for after repairs—it’s also an important part of regular maintenance. If your brake fluid is old or your brakes feel spongy, it’s time to bleed them. Keeping your braking system in top shape not only enhances your driving experience but also ensures your safety on the road.


