How to Clear the Codes of a Check Engine Light Easily

The check engine light is a source of stress for many car owners. It can appear unexpectedly, disrupting your drive and making you worry about potential repair costs. But clearing the codes behind the check engine light isn’t always as daunting as it seems, especially if the problem is minor or already resolved. In this guide, we will explore various ways to clear the check engine light, ensuring you know when and how to reset it safely.
What Does the Check Engine Light Mean?
The check engine light is part of your car’s onboard diagnostic system (OBD). When it illuminates, it’s a signal from the engine control unit (ECU) that something isn’t working correctly. The light can be triggered by many things, from a loose gas cap to more serious engine problems.
Common Causes of a Check Engine Light
- Loose or faulty gas cap: One of the most common and easily fixable issues.
- Faulty oxygen sensor (O2 sensor): Can lead to poor fuel economy and engine performance.
- Bad spark plugs or spark plug wires: Misfires caused by faulty plugs can trigger the light.
- Catalytic converter issues: Often a more expensive fix, it can cause emissions problems.
- Mass airflow sensor (MAF) malfunction: A dirty or failing MAF sensor can trigger the check engine light.
Each of these issues generates a Diagnostic Trouble Code (DTC) stored in the car’s ECU, which can be read and interpreted using an OBD-II scanner.
Why Should You Clear Check Engine Light Codes Only After Fixing the Problem?
The check engine light serves as a warning of an underlying issue. Resetting the light without addressing the root cause can lead to bigger problems down the road. Here’s why you should always fix the problem before clearing the code:
- Prevent further damage: Ignoring an unresolved issue could cause more significant engine damage.
- Accurate diagnostics: Clearing the code before fixing the issue can make it harder to diagnose the problem if it returns.
- Safety concerns: Some issues could pose safety risks, such as braking system failures.
Methods to Clear Check Engine Codes
There are several ways to clear the check engine light, but it’s essential to ensure that the underlying issue has been fixed before attempting any of these methods. Here are some proven techniques to clear the codes:
Using an OBD-II Scanner
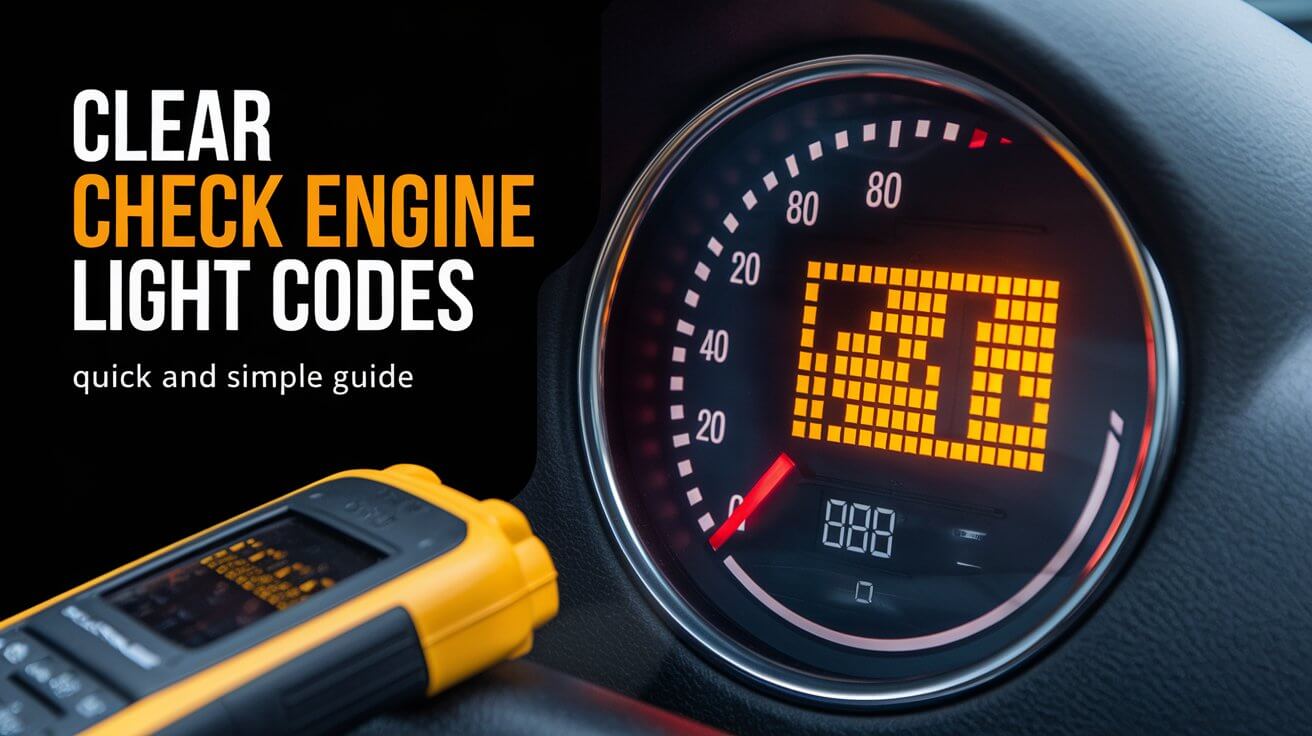
An OBD-II scanner is the most reliable and efficient way to clear the check engine light. It reads the diagnostic codes stored in the ECU and allows you to reset them once the issue is fixed.
- Connect the OBD-II scanner: Plug the scanner into your vehicle’s OBD-II port, usually located under the dashboard near the steering wheel.
- Read the codes: Turn on your car’s ignition (without starting the engine) and let the scanner read the codes stored in the ECU.
- Interpret the codes: Use the scanner’s manual or an online database to understand what the codes mean.
- Fix the problem: Address the underlying issue (e.g., tighten a loose gas cap, replace the O2 sensor).
- Clear the codes: Once the problem is fixed, use the scanner to clear the codes and reset the check engine light.
Disconnecting the Battery
Another method for resetting the check engine light is disconnecting the battery. This process works by cutting off the power to the ECU, clearing the stored codes.
- Turn off the car: Make sure your vehicle is off before proceeding.
- Disconnect the negative battery terminal: Use a wrench to loosen the nut on the negative terminal (black cable) and remove it.
- Drain the system: Press the horn or turn on the headlights for 20-30 seconds to drain any remaining electricity.
- Wait for 10-15 minutes: This gives the system time to reset.
- Reconnect the battery: Attach the negative terminal back to the battery and secure it.
- Start the car: Check if the check engine light is still on.
Important note: If the underlying problem hasn’t been fixed, the light will likely come back on shortly after driving.
Cycling the Ignition
In some cases, turning the ignition on and off several times can reset the check engine light. This method is known as cycling the ignition.
- Turn the ignition on (without starting the car).
- Wait for a few seconds and turn it off.
- Repeat the process three to five times.
This method might not work on all vehicles and typically depends on the car manufacturer’s specifications.
Letting the Light Reset Itself After Driving
Sometimes, if the issue is minor (e.g., loose gas cap), the check engine light will turn off after the car detects the problem has been fixed. Driving your car for 10-100 miles can help the ECU verify that everything is back to normal.
- Drive normally for several trips after fixing the issue.
- Wait for the ECU to reset the light automatically.
This method may take a few days, and it might not work if the underlying issue hasn’t been completely resolved.
Other Methods for Clearing Codes
Pulling the ECU Fuse
In older vehicles, pulling the ECU fuse may reset the check engine light. However, this method is not as reliable or recommended for modern cars.
- Locate the ECU fuse: Check your car’s manual to find the fuse box and the specific fuse controlling the ECU.
- Remove the fuse: Carefully pull out the fuse.
- Wait for a few minutes: Give the ECU time to reset.
- Reinsert the fuse and check if the light has turned off.
Using the Gas Pedal in Certain Vehicles
Some vehicles have specific reset procedures involving the gas pedal. While this is less common, it’s worth checking your vehicle’s manual to see if this method applies.
- Turn the ignition on without starting the engine.
- Press the gas pedal down fully and release it slowly a few times.
- Turn the ignition off and check if the light resets.
What If the Check Engine Light Returns?
If the check engine light returns after clearing the codes, it’s likely that the problem wasn’t fully resolved or that a new issue has arisen.
- Double-check the repairs: Ensure that the fix you applied was done correctly.
- Use a scanner again: Re-scan the vehicle to see if new codes have been triggered.
- Consult a professional: If the issue persists, it may require more advanced diagnostics or professional help.
Should You Always Clear the Codes?
While clearing the codes can be tempting, there are pros and cons to doing it yourself versus seeking professional help.
- Pros:
- Save time and money by doing it yourself.
- Quickly verify if a minor issue (like a loose gas cap) was the cause.
- Cons:
- Risk of missing deeper issues.
- Loss of diagnostic data, which might help mechanics if a problem persists.
Free Diagnostic Services
Many auto parts stores offer free diagnostic services to help you identify the codes behind your check engine light. Stores like AutoZone or O’Reilly Auto Parts often provide this service at no charge.
- How it works: Bring your car in, and they will use an OBD-II scanner to read the codes and suggest potential fixes.
This can be a cost-effective way to identify the issue without having to purchase a scanner.
Conclusion
Clearing the check engine light isn’t as complex as it may seem, but it’s important to make sure you’ve resolved the underlying issue before attempting to reset it. Whether you choose to use an OBD-II scanner, disconnect the battery, or try some of the other methods mentioned, always remember that addressing the cause of the light is the first step. Doing so will not only keep your car in top condition but also prevent more serious problems from arising.


