How to Connect Jumper Cables Safely and Effectively

If you’ve ever been stuck with a dead car battery, you know how frustrating it can be. Fortunately, jumper cables can get you back on the road quickly. Whether it’s due to leaving the lights on overnight or a failing battery, learning how to connect jumper cables properly is an essential skill for all drivers.
In this article, we’ll guide you through each step to ensure you’re confident when faced with a dead battery. Read on to discover how to connect jumper cables the right way, avoid common mistakes, and ensure your safety during the process.
Essential Tools and Equipment for Jump-Starting a Car
Jumper Cable Specifications
Before you jump-start your car, it’s important to have the right tools. Jumper cables are available in various lengths and thicknesses. The most effective jumper cables are typically 4 to 6 gauge and at least 20 feet long. Cables of this length allow flexibility in positioning the vehicles, especially when they can’t be parked directly next to each other.
Heavier gauge cables allow more electricity to flow, making it easier to start your car. Opting for thick, heavy-duty cables not only speeds up the process but ensures durability and longevity. These cables are especially recommended for larger vehicles like trucks or SUVs, which require more power to start.
Additional Safety Gear
While jumper cables are the primary tool, it’s wise to keep safety gear handy, such as gloves and goggles. This equipment protects you from potential sparks, acid from a damaged battery, and other hazards. Always prioritize safety when dealing with car batteries, which can be unpredictable.
Precautions Before You Begin
Check the Battery’s Condition
Not all dead batteries should be jumped. Check the battery for visible damage before attempting to jump-start it. If you see cracks, leakage, or a swollen casing, don’t attempt to jump the car. These are signs of a severely damaged battery that could be dangerous to handle.
Ensure Both Vehicles Are Compatible
Make sure both vehicles have the same voltage, usually 12 volts in most modern cars. Jump-starting between incompatible batteries (like attempting to jump a 6-volt car with a 12-volt battery) can result in severe electrical damage.
Turn Off Electrical Components
Before connecting the jumper cables, ensure that all electrical components—like headlights, radio, and air conditioning—are turned off in both vehicles. This reduces strain on the electrical system and lowers the risk of damage during the process.
Step-by-Step Guide on How to Connect Jumper Cables
Step 1: Position the Vehicles Correctly
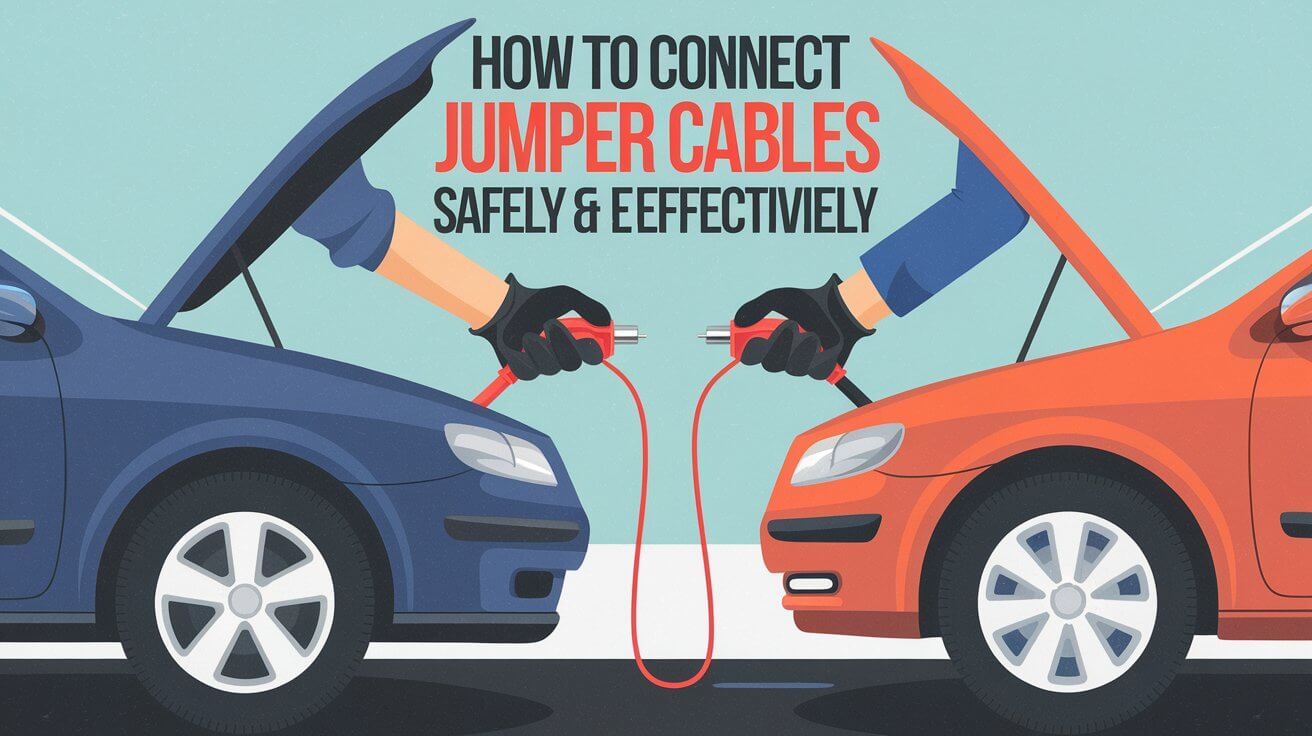
Start by parking the working vehicle near the car with the dead battery. The vehicles should be close enough for the jumper cables to reach both batteries, but ensure they are not touching. This prevents any potential transfer of static or electrical charge between the cars. If the cars are too far apart, use the longer cables to reach both vehicles comfortably.
Step 2: Prepare the Batteries
Once the cars are positioned correctly:
- Locate the batteries: Open the hoods and find the batteries in each vehicle. Some batteries might be covered with plastic or a metal case, which you’ll need to remove.
- Clean the terminals: Over time, battery terminals can collect dirt, grease, or corrosion, which can interfere with a solid connection. Use a wire brush or a clean cloth to clear the terminals for a better electrical connection.
Step 3: Connect the Jumper Cables Properly
Here’s the most important part—connecting the jumper cables in the correct sequence:
- Attach the Red (Positive) Clamp First
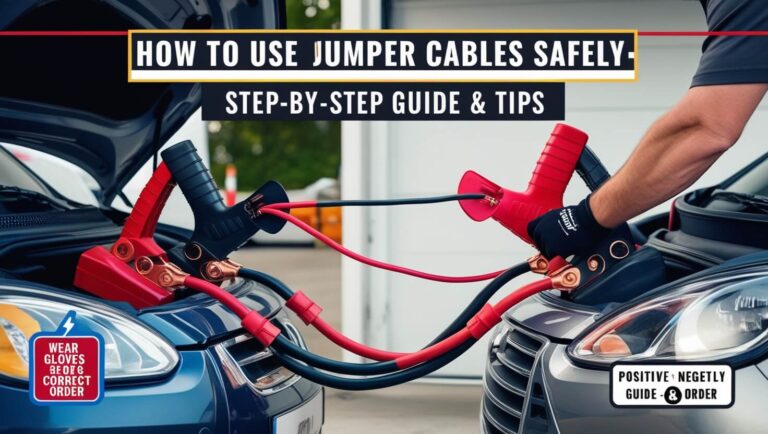
Start by attaching one red clamp to the positive terminal (marked with a + sign) of the dead battery. Make sure the connection is solid to allow proper current flow. - Connect the Red Clamp to the Working Battery
Next, attach the other red clamp to the positive terminal of the working battery. - Attach the Black (Negative) Clamp to the Working Battery
Now, connect one black clamp to the negative terminal (marked with a – sign) of the working battery. - Attach the Black Clamp to an Unpainted Metal Surface
Here’s where it gets a little tricky. Instead of attaching the black clamp to the dead battery’s negative terminal, attach it to an unpainted metal surface on the engine block of the dead vehicle. This prevents dangerous sparks and helps ground the electrical current. Look for a bolt, bracket, or similar solid part of the engine.
How to Safely Jump-Start the Car
Step 4: Start the Engine
- Start the working car first. Let it run for a few minutes to allow some charge to flow to the dead battery.
- Try starting the dead car after a few minutes. If the car doesn’t start immediately, wait another few minutes before trying again.
Step 5: Disconnect the Jumper Cables in Reverse Order
Once the dead car starts, it’s time to remove the cables, but this step must also be done in a specific sequence to avoid any electrical mishaps.
- Remove the black clamp from the engine block or metal surface of the previously dead car first.
- Remove the black clamp from the working car.
- Remove the red clamp from the working car’s positive terminal.
- Remove the red clamp from the previously dead car.
It’s crucial to avoid letting the clamps touch each other during the entire process, as this can cause sparking or damage to your car’s electrical system.
Post-Jump Maintenance: What to Do After Jump-Starting Your Car
Keep the Engine Running
Once the dead car is successfully started, keep it running for at least 20 to 30 minutes. This gives the alternator time to charge the battery. If possible, take the car for a short drive, which will help recharge the battery faster.
Check the Battery’s Condition
Jump-starting your car is a temporary solution. To ensure your car doesn’t face the same issue soon after, get the battery checked by a professional. Many auto parts stores offer free battery testing services. If the battery is more than 3 to 5 years old, it may be time to replace it.
Safety Tips and Common Pitfalls to Avoid
Avoid Jump-Starting in Dangerous Conditions
If you need to jump your car in extreme weather conditions, like heavy rain or freezing temperatures, take extra precautions. While it is generally safe to jump-start a car in the rain, make sure your hands and equipment are dry to avoid any unnecessary risks.
Handling Corroded Batteries
If the battery terminals are heavily corroded, jump-starting can be more difficult. Take extra care when cleaning the terminals. If corrosion is excessive or there are signs of battery acid, you might need to replace the battery rather than jump-starting it.
Troubleshooting Common Issues
Why Won’t the Car Start?
Sometimes, even after following the steps correctly, the car may not start. Here are some potential reasons:
- Battery is completely drained: If the battery is extremely weak, it may take longer to charge before it starts.
- Faulty alternator: If the alternator is failing, the battery won’t hold a charge, even after being jumped.
- Loose connections: Ensure all the clamps are tightly connected to the terminals.
What to Do if Jumper Cables Don’t Work
If the car doesn’t start after several attempts, you might need to consider these steps:
- Check connections: Ensure all clamps are properly attached.
- Wait longer: Allow the good battery to charge the dead battery for a few more minutes.
- Consider a new battery: If nothing works, your battery may be completely dead and will need replacement.
Frequently Asked Questions About Jumper Cables
Can You Use Any Jumper Cables?
No, not all jumper cables are created equal. Heavy-duty cables are the best option, especially for larger vehicles like trucks or SUVs. Thicker cables allow more current to flow, making the process quicker and safer.
Is It Safe to Jump a Car in the Rain?
Yes, it is safe to jump-start a car in the rain. The voltage in car batteries is low, and as long as the jumper cables and your hands are dry, there’s little risk of electrical shock.
How Long Should Jumper Cables Be?
The ideal length for jumper cables is around 20 feet. This length gives you flexibility in case the vehicles can’t be positioned closely together, such as in a crowded parking lot.
Advanced Considerations: Jumping Hybrid or Electric Vehicles
Jumping a hybrid or electric vehicle (EV) requires some extra care. Hybrid cars have two batteries: a 12-volt battery and a much larger one for the electric motor. Most of the time, the 12-volt battery can be jumped just like a traditional car, but it’s important to consult your vehicle’s manual before attempting.
For electric vehicles, jumping the 12-volt battery will power up the electronics, but if the larger battery is depleted, it may need to be charged by a professional.
Conclusion: Be Prepared and Stay Safe When Jump-Starting
Knowing how to connect jumper cables correctly can save you from a stressful situation and get you back on the road quickly. Follow these steps carefully, stay safe, and always keep a reliable set of jumper cables in your vehicle. By taking the right precautions and being prepared, you’ll avoid common mistakes and handle any dead battery situation with ease.


