How to Remove a Slow-Blow Fuse Safely: Step-by-Step Guide

Slow-blow fuses, also known as time-delay fuses, play an essential role in protecting electronic devices by handling brief power surges without immediately “blowing.” They’re particularly valuable in devices like HVAC systems, amplifiers, or motorized appliances that may need extra power for startup. However, when a slow-blow fuse does fail, understanding how to safely remove and replace it is key to ensuring your equipment operates smoothly. This guide provides step-by-step instructions for identifying, removing, and replacing a slow-blow fuse, along with maintenance and troubleshooting tips to keep your devices running safely and efficiently.
What is a Slow-Blow Fuse?
Overview of Slow-Blow Fuses and Their Purpose
A slow-blow fuse, often labeled with a “T” (for time-delay) on the fuse body, is designed to handle short surges of current before it disconnects the circuit. Unlike a standard or “fast-blow” fuse, which trips instantly in the event of an overcurrent, a slow-blow fuse includes a slight delay. This feature prevents nuisance trips during transient currents, such as those that occur when a motor or compressor starts up. By incorporating this delay, slow-blow fuses prevent unnecessary disconnections in applications where a brief overcurrent is expected and safe.
Common Types and Sizes of Slow-Blow Fuses
Slow-blow fuses come in a range of types and sizes depending on their application:
- Cartridge Fuses: Usually cylindrical, these are commonly used in automotive or industrial applications.
- Glass Tube Fuses: These are often found in household appliances and feature a clear tube that allows users to inspect the fuse for visible signs of failure.
- Blade Fuses: Common in automotive settings, blade fuses are known for their compact design and are easily replaceable.
When working with fuses, it’s critical to check the fuse rating and specifications. The rating (in amps) will be marked on the fuse body and should match the requirements of the circuit or device.
Identifying a Slow-Blow Fuse in Your Device
To identify a slow-blow fuse, look for distinct characteristics on the fuse body, such as:
- A thicker internal filament than fast-blow fuses.
- Visible spring or coils inside the fuse, which enable the time-delay function.
- Clear markings or a “T” rating indicator to denote time-delay functionality.
Locating the fuse within a device may require consulting the owner’s manual, as fuse locations vary by model and manufacturer.
Reasons for Removing or Replacing a Slow-Blow Fuse
Common Scenarios Requiring Removal
While slow-blow fuses are durable, they can still fail over time due to overheating, wear, or unexpected electrical faults. Common reasons for removing or replacing a slow-blow fuse include:
- Electrical Malfunctions: If a device frequently powers off or fails to start, the fuse may be blown.
- Troubleshooting or Repairs: Technicians may need to replace the fuse when diagnosing or repairing circuits.
- Regular Maintenance: For safety, it’s good practice to periodically inspect fuses, especially in high-stress applications.
Safety Concerns and Precautions
Before beginning any work with fuses, prioritize safety by ensuring the device is powered off and disconnected from any power sources. Even with the device off, residual currents can pose a risk, so avoid touching any exposed metal. Having the correct tools on hand, such as insulated pliers or a fuse puller, will make the removal process safer and more effective.
Step-by-Step Guide to Removing a Slow-Blow Fuse
Step 1: Locate the Fuse Box or Fuse Holder
Start by identifying the fuse location within the device. Common fuse locations vary based on the type of device. For example:
- Household Appliances: Look behind an access panel or under the main cover.
- Automotive Applications: Locate the fuse box, typically under the dashboard or in the engine compartment.
- HVAC or Other Industrial Equipment: Refer to the equipment manual for the fuse compartment.
If you’re unable to find the fuse location, consulting the device manual or checking online resources for your specific model can be helpful.
Step 2: Ensure Safety Before Proceeding
Once you’ve located the fuse, ensure all power sources are disconnected. For added safety, double-check with a multimeter that there is no live current present, especially if the fuse is part of a high-voltage or industrial system.
Step 3: Inspect the Fuse Type and Rating
Before removing the fuse, take note of its specifications. Fuses are labeled with their rating, typically displayed in amperage (A) and voltage (V). Replacing a fuse with an incorrect rating can lead to either insufficient protection or frequent trips, so take a picture or note the exact specifications.
Step 4: Remove the Slow-Blow Fuse
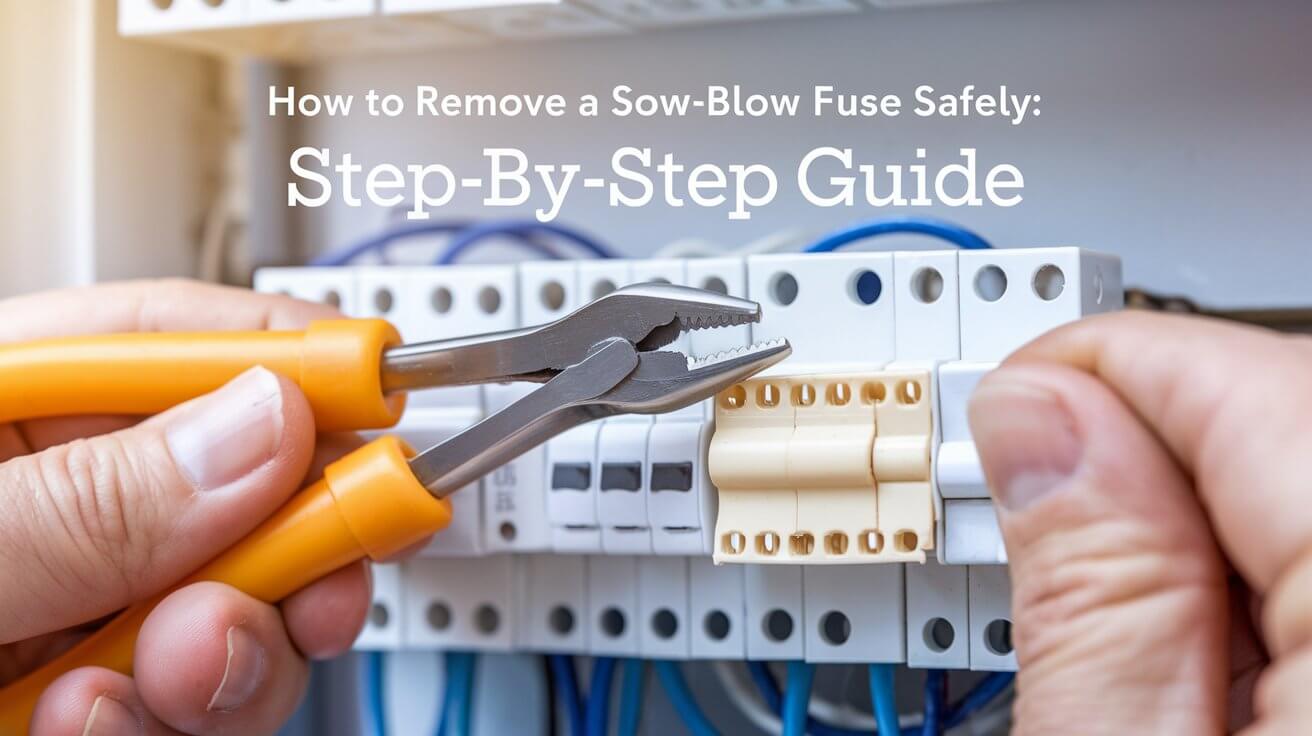
Gently remove the fuse from its holder. Using the correct tools is crucial here, especially in tight spaces where using insulated pliers or a specialized fuse puller will prevent potential damage or shock.
- Grip the fuse firmly with the tool: If the fuse is especially tight, avoid excessive force; check for any clips or screws that may be securing it.
- Pull straight out: Remove the fuse with a steady pull to avoid damaging the holder or surrounding components.
Step 5: Testing or Replacing the Fuse
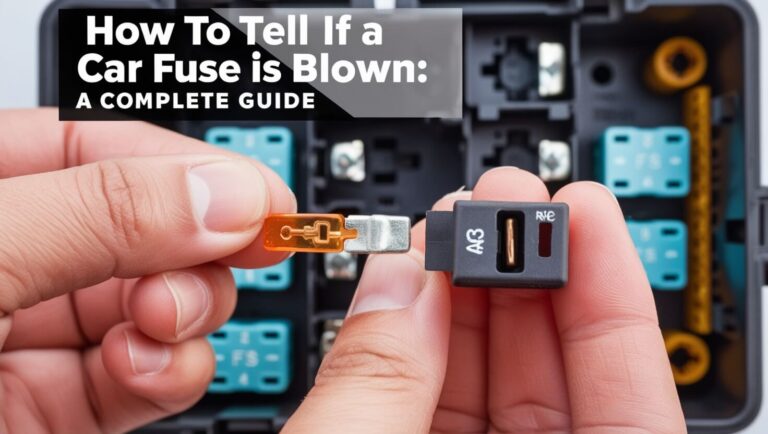
To determine if the fuse is blown, use a multimeter to check for continuity. A blown fuse will show an open circuit (no continuity). If the fuse is indeed blown, replace it with an exact-match slow-blow fuse that has the same amperage and voltage rating.
Proper Disposal of Blown Fuses
Dispose of blown fuses according to local electronic waste regulations. Many cities offer drop-off locations for safe disposal of electronics and electrical components.
Choosing the Right Replacement for a Slow-Blow Fuse
Selecting a Fuse with Matching Specifications
Choosing a replacement fuse with the exact specifications is essential to avoid future issues. When selecting a fuse:
- Match Amperage and Voltage Ratings: Verify that the amperage and voltage meet the device’s specifications.
- Avoid Using Fast-Blow Fuses: Fast-blow fuses cannot handle transient currents, which could cause frequent blowouts in devices needing time-delay functionality.
Common Mistakes to Avoid When Replacing Fuses
Using the wrong type of fuse can lead to device malfunctions or even electrical hazards. Here’s what to avoid:
- Using a Fast-Blow Fuse: These will trip too quickly in devices designed for slow-blow fuses, leading to unnecessary replacements.
- Choosing an Incorrect Rating: Too low of a rating may cause frequent trips, while too high of a rating could fail to protect the circuit effectively.
Testing and Troubleshooting After Fuse Replacement
Powering Up and Observing Device Function
Once the replacement fuse is in place, reconnect power and monitor the device’s performance. If the device works smoothly without any issues, the replacement was likely successful. Watch for any warning signs such as repeated power cuts, which may indicate deeper electrical issues.
Additional Diagnostics for Persistent Problems
If the fuse continues to blow, it’s worth testing the circuit for possible faults. Using a multimeter, inspect for short circuits, grounding issues, or overloading in the device. Persistent issues may warrant professional inspection to avoid potential safety risks.
Preventive Tips for Maintaining Slow-Blow Fuses and Electrical Safety
Regular Maintenance and Visual Inspections
Routine checks of fuses and electrical systems are essential for long-term reliability. Check for any signs of wear, such as discoloration, corrosion, or a weakened filament. Replacing fuses proactively can help prevent unexpected device failures.
Understanding Electrical Load Management
Many electronic devices experience brief surges, such as at startup. Using a surge protector for high-demand devices or adjusting circuit configurations may prevent strain on your slow-blow fuses, extending their lifespan and protecting sensitive equipment.
Conclusion
Understanding how to safely remove and replace a slow-blow fuse is a valuable skill for anyone working with electronic devices that require time-delay protection. By following the right steps and ensuring proper specifications, you can keep your devices running smoothly and avoid unnecessary maintenance costs. Remember to prioritize safety, use the correct replacement fuse, and keep up with regular inspections to maintain your equipment effectively. If issues persist after replacement, consider consulting a professional to assess deeper electrical concerns.


