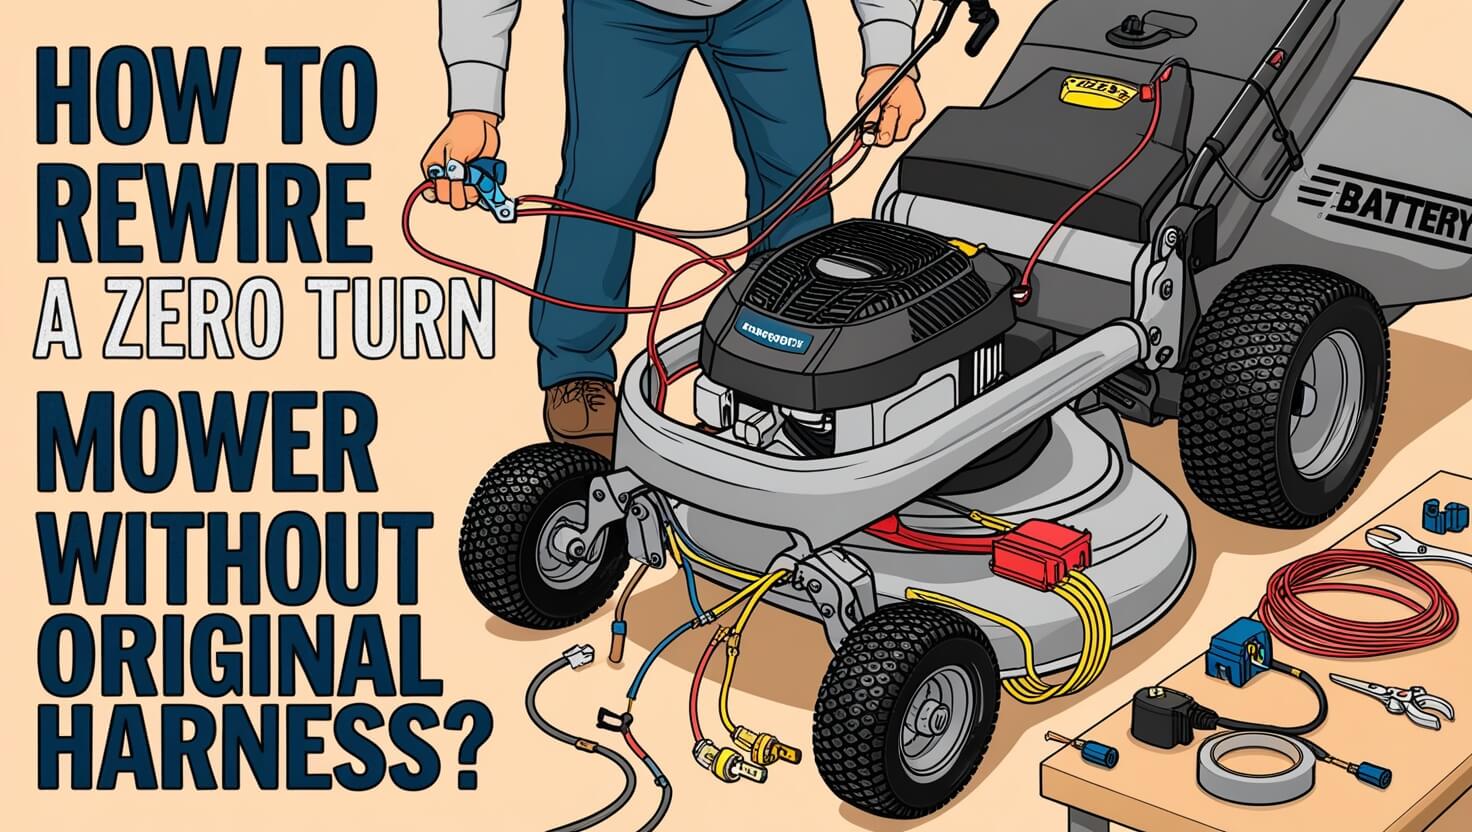
How to Rewire Zero Turn Mower Without Original Harness?

Rewiring a zero-turn mower without its original wiring harness can be a challenging task, but with the right tools, guidance, and patience, you can restore your mower’s electrical system to optimal working condition. Whether you’re facing frayed wires, damaged harnesses, or a mower that just won’t start, this guide covers the complete process to help you get your zero-turn mower back in action. Follow these steps to safely and effectively rewire your mower, even if the original wiring harness is unavailable.
Why Rewire a Zero Turn Mower?
Zero-turn mowers are known for their maneuverability and efficient grass-cutting capabilities. However, over time, their wiring systems can experience wear and tear, leading to issues like engine sputtering, starting difficulties, or non-responsive controls. Here’s why you might need to rewire:
- Frayed or Damaged Wires: Exposure to weather and vibrations can cause the wires to become frayed or damaged, potentially creating safety hazards.
- Missing or Malfunctioning Wiring Harness: A wiring harness keeps all electrical connections organized, but it can get damaged or misplaced during repairs or maintenance.
- Electrical Malfunctions: If your mower’s engine struggles to start or runs inconsistently, it could be a sign of poor wiring. A weak spark, dim headlights, or faulty safety switches can also indicate wiring issues.
Rewiring ensures that all electrical components work efficiently, making your mower reliable and safe to use.
Tools and Materials Needed for Rewiring
To rewire a zero-turn mower without the original wiring harness, gather these essential tools and materials before starting:
- Wire Cutters and Strippers: For removing old wires and preparing new ones.
- Electrical Tape: Provides insulation for wire connections to prevent shorts.
- Zip Ties: Helps to secure wiring along the mower frame, keeping it organized.
- Multimeter: For testing electrical connections and continuity.
- Wire Connectors: For joining wires safely without soldering.
- Replacement Wires: Choose wires that match the gauge used in your mower, typically between 14-18 gauge.
- Safety Gear: Gloves and safety glasses to protect yourself during the process.
Having the right tools makes the job easier and ensures a safe rewiring process.
Safety Precautions Before Starting
Before working on the mower’s wiring, take these safety steps to prevent accidents:
- Disconnect the Battery: Always disconnect the negative terminal of the battery first to avoid any accidental electric shocks or shorts.
- Remove the Spark Plug: This prevents the engine from accidentally starting while you’re working on the wiring.
- Label Wires: Take photos or label the wires before removing them to keep track of the connections. This will make reinstallation much smoother.
- Work in a Well-Ventilated Area: Avoid working in enclosed spaces to prevent exposure to fumes from the battery or engine.
These steps help ensure a safer rewiring process and minimize the risk of injury.
Step-by-Step Process to Rewire a Zero Turn Mower
Follow these detailed steps to successfully rewire your zero-turn mower without the original wiring harness:
Step 1: Remove the Old Wiring
- Disconnect All Power Sources: Ensure the battery is disconnected and the spark plug is removed.
- Carefully Remove Old Wires: Using wire cutters, cut the zip ties holding the wires in place and gently remove the old wires. Take note of how wires were routed, as this will help when installing the new wiring.
- Label or Photograph Connections: As you remove each connection, take photos or label the wires to remember their original placements.
Step 2: Prepare the New Wiring
- Measure and Cut New Wires: Cut new wires according to the lengths needed for each connection. It’s better to cut slightly longer lengths to allow flexibility during installation.
- Strip Wire Ends: Use a wire stripper to remove about ½ inch of insulation from the ends of each wire, making it easier to attach connectors.
- Choose Proper Connectors: Select connectors that match the wire gauge and component specifications for a secure fit.
Step 3: Install the New Wiring
- Start with the Battery and Ground: Connect the positive and negative leads from the battery to the appropriate connections on the starter and ground points. Ensure all connections are tight and secure.
- Connect Ignition Switch and Solenoid: Attach wires to the ignition switch, routing them to the solenoid and starter motor. Ensure the wire colors match those of the original harness for easier identification.
- Connect Safety Switches: Reconnect the seat safety switch, brake switch, and any other safety mechanisms. These switches are crucial for the safe operation of the mower.
- Use Zip Ties for Tidy Wiring: As you route the wires, use zip ties to secure them along the mower’s frame, avoiding sharp edges that could damage the insulation.
Step 4: Testing the New Wiring
- Reconnect the Battery: Reattach the negative terminal of the battery.
- Use a Multimeter: Test each connection to ensure there is continuity and no short circuits. The multimeter should indicate proper flow of current without interruptions.
- Test Mower Functions: Start the engine and check if all controls and safety features (e.g., kill switches, headlights) are working properly. Test each function to ensure the new wiring is functioning as expected.
Step 5: Final Adjustments
- Inspect for Loose Connections: Check all connections again to ensure they are secure.
- Double-Check Wire Routing: Make sure wires are not pinched or rubbing against any moving parts.
- Apply Electrical Tape: Wrap any exposed wire connections with electrical tape for added insulation and protection against moisture.
Following these steps ensures that your zero-turn mower is properly rewired, even without the original harness.
Common Mistakes to Avoid During Rewiring
Rewiring a zero-turn mower can be straightforward if done correctly, but there are common mistakes that could complicate the process:
- Using Incorrect Wire Gauges: Using wires that are too thin can lead to overheating, while thicker wires may not fit properly into connectors.
- Skipping Labeling: Failing to label or take photos of connections can make reassembly much more confusing and time-consuming.
- Not Testing Connections: Always test with a multimeter before fully securing wires. This helps identify any wiring errors early on.
- Neglecting Safety Switches: Safety switches are important for preventing accidental starts. Ensure these are properly wired to avoid potential hazards.
Avoiding these mistakes helps make the rewiring process smoother and safer.
Troubleshooting Tips for Wiring Issues
Even after careful rewiring, some issues may arise. Here’s how to troubleshoot common problems:
- Mower Won’t Start: Check for loose battery connections or a faulty solenoid. Make sure the battery is fully charged.
- Intermittent Power Loss: This could be due to loose connections or exposed wires. Inspect all connections for signs of corrosion or damage.
- Faulty Safety Switches: If the mower starts but cuts out when you engage the blades, it could be a safety switch problem. Ensure each switch is properly connected.
- Blown Fuses: If fuses blow frequently, it might indicate a short circuit in the wiring. Use a multimeter to trace the source of the problem.
Addressing these issues early can prevent further damage and keep your mower running smoothly.
Using a Wiring Diagram: A Helpful Tool
A wiring diagram is invaluable when rewiring a zero-turn mower. Even without the original harness, diagrams help map out how different components connect. Here’s how to use one effectively:
- Identify Key Components: Locate the battery, solenoid, starter motor, and safety switches in the diagram.
- Trace Wire Paths: Follow the wiring routes from the battery to each component, noting wire colors and connection points.
- Match Diagram Symbols: Understand symbols like circles for the ignition switch or rectangles for the solenoid to correctly match connections.
Using a wiring diagram simplifies the rewiring process, reducing the chance of mistakes.
Alternatives to Full Rewiring
If a complete rewiring isn’t necessary, consider these alternatives:
- Replace Damaged Sections: If only a few wires are frayed, replace those instead of rewiring the entire system.
- Use an Aftermarket Harness: Many aftermarket harnesses are compatible with various zero-turn mowers and can be installed with minor adjustments.
- Consult a Professional: For complex issues, consulting a mower repair technician might save time and ensure safety.
These alternatives can be time-saving and may be sufficient for less severe wiring problems.
Maintenance Tips After Rewiring
After successfully rewiring your zero-turn mower, follow these maintenance tips to keep it running smoothly:
- Inspect Connections Regularly: Check for loose wires or corroded connections every few months.
- Clean Battery Terminals: Use a wire brush to keep battery terminals free of corrosion, ensuring a good connection.
- Store the Mower Properly: Avoid exposing the mower to rain or snow, which can cause corrosion in the wiring.
Proper maintenance ensures the longevity of your rewiring efforts.


