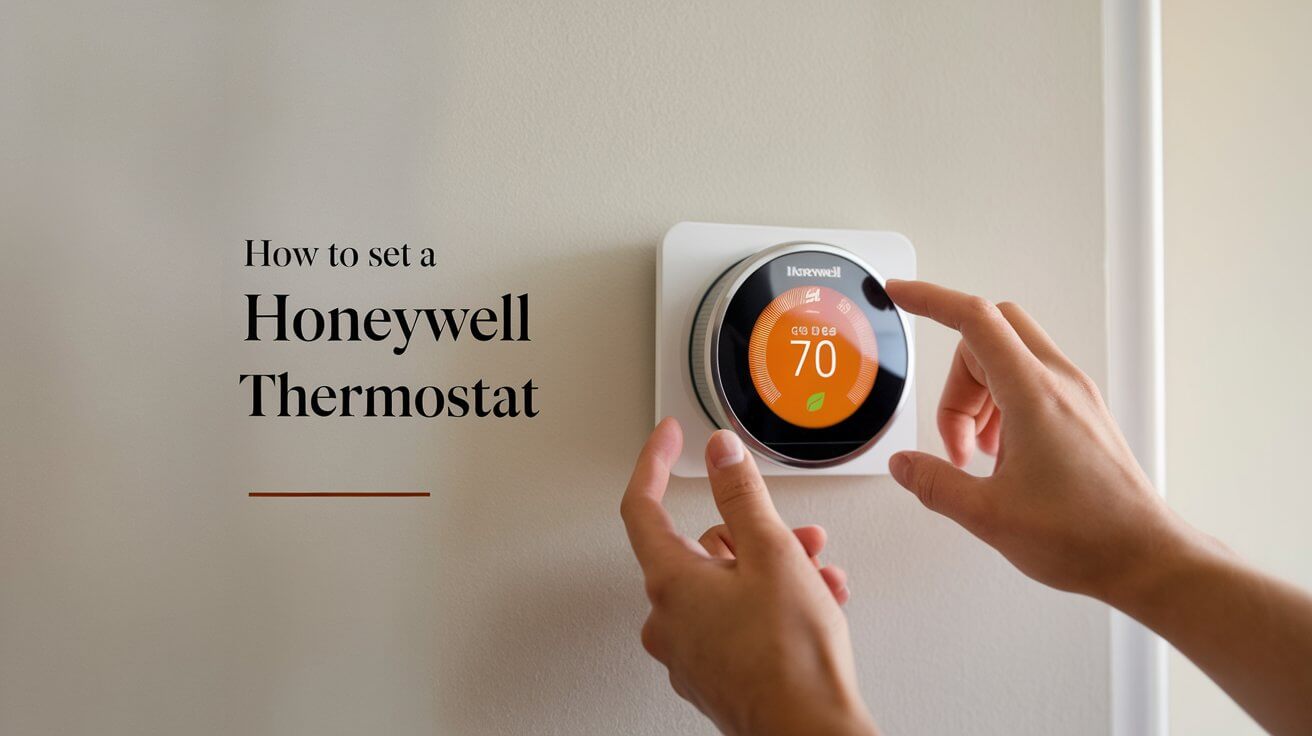
How to Set a Honeywell Thermostat: Complete Setup Guide

A Honeywell thermostat is a crucial tool for managing the temperature in your home efficiently. Whether you’ve just installed one or need to reconfigure your existing settings, learning how to set it up properly ensures you get the most out of your device. This article will guide you through step-by-step instructions to set up and optimize your Honeywell thermostat, whether it’s a programmable, Wi-Fi-enabled, or smart model. Additionally, we’ll address common setup issues and advanced features to help you take full control of your heating and cooling system.
Types of Honeywell Thermostats
Honeywell offers a range of thermostats with various capabilities, from basic models to advanced smart devices. Depending on your model, the setup process may vary slightly, but the fundamental concepts remain the same.
Programmable Thermostats (FocusPro, VisionPro, T6 Pro)
Programmable thermostats allow you to set schedules for different times of the day. Models like the FocusPro and VisionPro offer flexibility in setting up heating and cooling cycles, making it easier to manage comfort and save energy.
Smart Thermostats (T9, T6 Pro, T5+)
Smart thermostats, such as the T9, T6 Pro, and T5+, provide advanced features like Wi-Fi connectivity, app control, geofencing, and compatibility with voice assistants like Alexa and Google Assistant. These models allow remote control via smartphone, enabling you to adjust the temperature from anywhere.
Non-Programmable Thermostats (RTH2300, CT87N)
Non-programmable models, such as the RTH2300 or CT87N, offer basic temperature control without scheduling options. These are ideal for users who prefer simplicity and do not require automated settings.
Steps to Set a Honeywell Thermostat
Setting up your Honeywell thermostat is a straightforward process. Here’s how you can configure your thermostat, regardless of the model.
Step 1: Power Up the Thermostat
Ensure the thermostat is properly installed and powered on. For battery-powered models, insert the batteries, and for hardwired units, ensure that they are correctly connected to your home’s electrical system.
Step 2: Access the Settings Menu
Once the thermostat is powered, access the settings by pressing the menu button or tapping the display (for touchscreen models). This will bring up the main menu where you can configure basic settings such as temperature, mode (heating/cooling), and schedule.
Step 3: Set the Date and Time
Setting the correct date and time is important, especially for programmable models. If you’re using a Wi-Fi or smart thermostat, this step is often handled automatically by the system after connecting to the internet. For manual setups, navigate to the “Date/Time” section in the menu.
Step 4: Select System Mode (Heat, Cool, Auto)
Depending on the season, you will need to set your thermostat to either Heat, Cool, or Auto mode. The Auto setting will allow the thermostat to switch between heating and cooling as needed, depending on the room temperature.
Step 5: Configure Fan Settings
Many Honeywell thermostats offer adjustable fan settings. You can set the fan to Auto, where it only runs when the system is heating or cooling, or On, where the fan runs continuously to circulate air.
Programming a Honeywell Thermostat
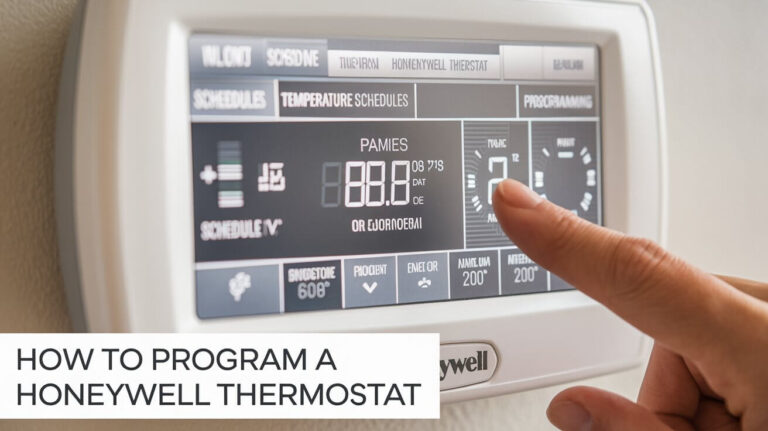
If you have a programmable thermostat, such as the VisionPro or T6 Pro, you can set up a schedule that matches your lifestyle, helping to save energy and maintain comfort.
Step 1: Choosing a 5-2 or 7-Day Schedule
Honeywell thermostats offer flexible scheduling options. The 5-2 schedule allows you to set different settings for weekdays and weekends, while the 7-day schedule lets you customize each day individually.
Step 2: Setting Temperature Intervals
Once you’ve selected the scheduling format, you can set different temperature intervals throughout the day. Common time blocks include:
- Wake: The time you wake up and want the house to be warm or cool.
- Leave: When you leave the house and want to conserve energy.
- Return: When you return home and need the house to be comfortable again.
- Sleep: Nighttime settings when you may prefer a cooler or warmer environment.
Step 3: Activating the Schedule
After setting your desired temperature for each time block, save the schedule to ensure the thermostat follows your settings. This step prevents accidental reprogramming and keeps your HVAC system running efficiently.
How to Set a Honeywell Wi-Fi Thermostat
Wi-Fi-enabled Honeywell thermostats provide remote control and allow for seamless integration with smart home systems. Here’s how to set them up.
Step 1: Connect to Wi-Fi
To get started, access the Wi-Fi Settings from the thermostat’s menu. If you’re setting up for the first time, follow the on-screen instructions to search for available networks. Select your Wi-Fi network and enter the password.
Step 2: Install the Honeywell Home App
Download the Honeywell Home app on your smartphone or tablet. Create an account or log in if you already have one. Once logged in, select Add New Device from the app, choose your thermostat model, and follow the on-screen instructions to complete the pairing.
Step 3: Syncing and Troubleshooting Wi-Fi Issues
If your thermostat is having trouble connecting to the Wi-Fi, double-check the network credentials and restart both your router and thermostat. For persistent issues, you may need to reset the Wi-Fi settings on the thermostat and attempt the connection again.
Advanced Features of Honeywell Smart Thermostats
Honeywell’s smart thermostats come with several advanced features designed to enhance comfort, save energy, and provide more control over your home’s heating and cooling.
Geofencing and Energy Saving
Geofencing uses your phone’s location to automatically adjust the temperature when you leave or return home. This can save energy by reducing heating or cooling when the house is empty.
Remote Access and Control
With the Honeywell Home app, you can monitor and adjust your thermostat settings from anywhere. This feature is particularly useful if you want to come home to a comfortable environment without leaving the system running all day.
Sensors and Zoning
Many Honeywell thermostats, like the T9, can be paired with sensors placed around your home to create different temperature zones. This allows you to target specific areas for heating or cooling, ensuring maximum comfort.
Common Issues and Troubleshooting
Even though Honeywell thermostats are highly reliable, you may encounter some issues during setup or operation. Here’s how to troubleshoot common problems.
Thermostat Not Turning On
If your thermostat isn’t turning on, check to ensure that it’s properly connected to power. For battery-powered models, try replacing the batteries. For hardwired units, check the wiring connections.
Wi-Fi Connectivity Issues
For Wi-Fi models, connection issues are common, especially if the thermostat is too far from the router or if there are network disruptions. Restarting the router or moving it closer to the thermostat can help resolve this issue.
Schedule Not Following Set Temperatures
If the thermostat is not following your programmed schedule, verify that you have saved the settings correctly. It’s also possible that the thermostat is in Hold mode, which overrides the programmed schedule. Turning off Hold mode will return it to the regular schedule.
How to Reset a Honeywell Thermostat
At times, you may need to reset your Honeywell thermostat, either to clear an error or to start fresh with new settings.
Resetting Wi-Fi and Smart Thermostats
To reset a smart thermostat, go to the Settings menu and look for the Factory Reset option. Follow the prompts to clear all data and return the thermostat to its default settings.
Resetting Programmable Models
For programmable models, you may need to use a specific combination of button presses to initiate a reset. This information is typically found in your user manual, but common combinations involve pressing the Menu and Fan buttons simultaneously for several seconds.
Using Voice Assistants with Honeywell Thermostats
One of the benefits of Honeywell smart thermostats is their compatibility with popular voice assistants like Amazon Alexa, Google Assistant, and Apple HomeKit.
Connecting to Alexa
To connect your Honeywell thermostat to Alexa, ensure that the device is paired with the Honeywell Home app and linked to your Amazon account. You can then use voice commands to set temperatures, change modes, or turn the system off.
Google Assistant and HomeKit Integration
Similar steps can be followed to connect your Honeywell thermostat to Google Assistant or Apple HomeKit. This allows you to control the thermostat using voice commands or via the respective smart home apps.
FAQs
Can You Use a Honeywell Thermostat Without Wi-Fi?
Yes, many Honeywell thermostats function without Wi-Fi. Wi-Fi models offer additional features like remote control and app integration, but non-Wi-Fi versions provide basic heating and cooling control.
How Do I Know if My Thermostat is Compatible with My HVAC System?
Honeywell thermostats are compatible with most HVAC systems, but it’s important to check your system’s voltage (low voltage, line voltage, or millivolt) to ensure compatibility. The thermostat’s packaging or manual usually indicates which systems it supports.
How to Change the Battery on a Honeywell Thermostat?
Changing the battery on a Honeywell thermostat is straightforward. For most models, pull the thermostat faceplate away from the wall, replace the old batteries with new ones, and snap the faceplate back into place.
Conclusion
Setting up your Honeywell thermostat correctly is key to maintaining a comfortable and energy-efficient home. By following the steps outlined above, you can ensure that your thermostat is programmed toSetting up your Honeywell thermostat correctly is key to maintaining a comfortable and energy-efficient home. By following the steps outlined above, you can ensure that your thermostat is programmed to deliver optimal heating and cooling. Whether you have a basic, programmable, or smart model, taking advantage of the thermostat’s features will save you money and increase your home’s comfort level.
Explore the advanced settings, such as Wi-Fi connectivity and voice assistant integration, to maximize control over your home’s temperature. Regularly check for any issues and troubleshoot as needed to keep your system running smoothly. With the right setup and schedule, your Honeywell thermostat will provide reliable temperature control, helping you reduce energy costs while maintaining comfort.
Now you’re equipped with the knowledge you need to set up and optimize your Honeywell thermostat for any season, ensuring efficient operation for years to come.


