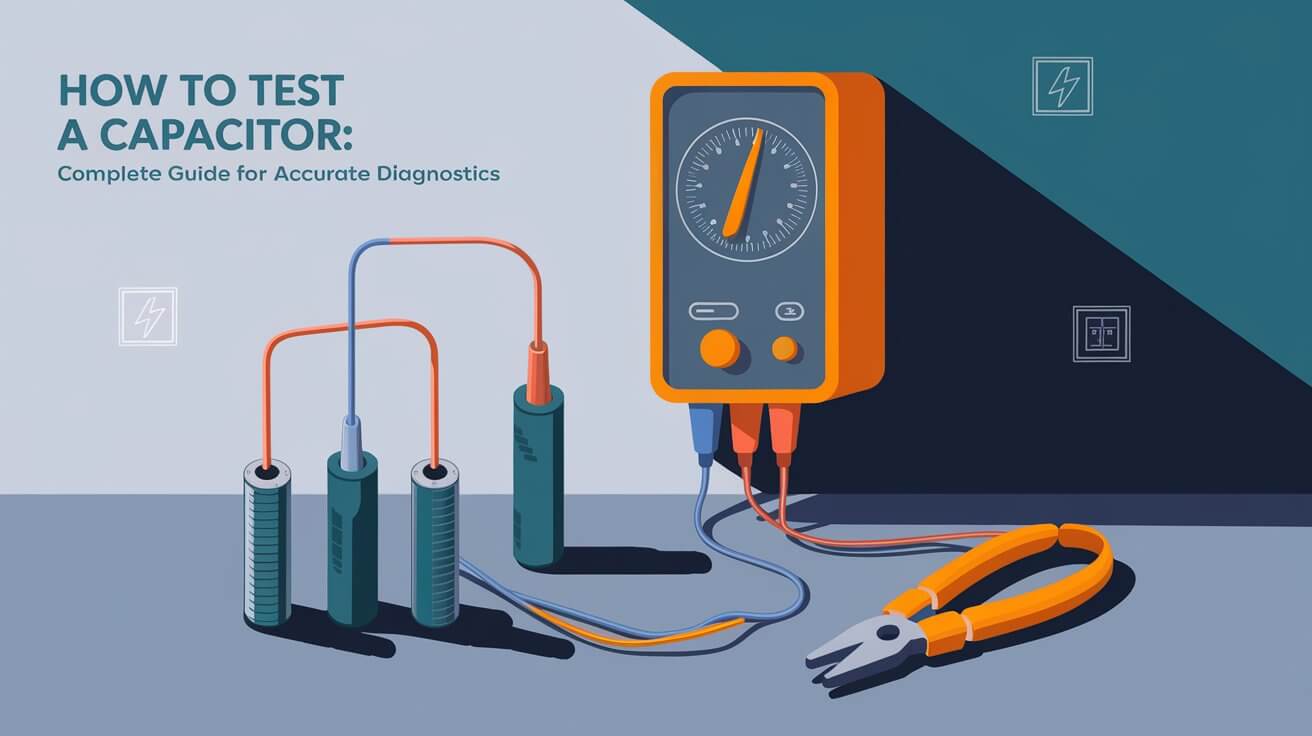
How to Test a Capacitor: Complete Guide for Accurate Diagnostics

Testing capacitors is a vital skill in electronics maintenance and repair. Capacitors can fail over time due to factors like heat, age, or voltage surges, leading to problems in circuits. By learning various methods for testing capacitors, including using a multimeter or observing specific characteristics, you can quickly identify if a capacitor is functioning correctly or needs replacement.
This article provides a comprehensive guide on how to test a capacitor using different techniques, ensuring you can diagnose capacitor health effectively, safely, and with the right tools.
What is a Capacitor and Why Does Testing Matter?
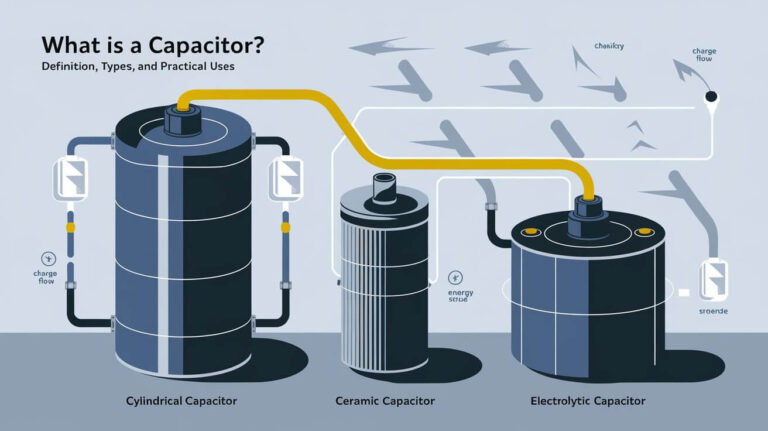
A capacitor is an electrical component that stores energy in an electric field, crucial in various electronics for stabilizing voltage and powering circuits. Since a malfunctioning capacitor can lead to unstable voltage levels, testing them regularly can help prevent device failures, overheating, or even complete system breakdowns.
How to Test a Capacitor: Essential Tools and Preparations
Testing a capacitor can be done with various tools, with a digital multimeter being the most common. For specialized readings, you may also use an ESR (Equivalent Series Resistance) meter, an oscilloscope, or a capacitance meter. Below are the tools and setups commonly needed:
- Digital Multimeter (preferably with capacitance mode)
- Analog Multimeter
- ESR Meter
- Voltmeter
- Safety Equipment (insulated gloves and safety goggles)
- Discharge Tools (resistor or insulated screwdriver)
Safety Tips
- Discharge the Capacitor: Capacitors can retain a charge even when removed from power. Always discharge them to avoid electrical shock.
- Handle Polarized Capacitors Carefully: For polarized capacitors, observe the correct orientation (positive and negative terminals) during testing.
Step-by-Step Guide: Methods for Testing a Capacitor
Visual Inspection of the Capacitor
Before using a meter, perform a visual inspection of the capacitor. Signs of wear can often reveal whether it’s likely to fail.
- Bulging or Leaking: If a capacitor is bulging or leaking, it’s usually defective.
- Cracks or Discoloration: Cracks on the casing or discoloration indicate overheating or physical stress, suggesting replacement.
How to Test a Capacitor Using a Multimeter in Capacitance Mode
Testing a capacitor with a multimeter’s capacitance mode provides a direct reading of its capacitance value, helping you compare it to its rated value.
- Set Up the Multimeter: Switch your multimeter to the capacitance setting (often labeled with an “F” symbol).
- Connect the Leads: Attach the multimeter probes to the capacitor terminals. Polarity does not matter for non-polarized capacitors, but ensure the correct orientation for polarized types.
- Read the Capacitance Value: The multimeter will display the capacitance. Compare this reading with the rated capacitance on the capacitor body.
- Interpret the Results:
- Normal: Reading close to rated capacitance.
- Faulty: Significant deviation from the rated value suggests the capacitor is defective.
Testing a Capacitor in Resistance (Ohms) Mode
If your multimeter lacks capacitance mode, you can use the resistance mode to check for basic functionality. This method observes how the capacitor’s resistance changes, indicating if it charges or discharges correctly.
- Set the Multimeter to Resistance: Choose the “Ohms” or “Ω” setting.
- Discharge the Capacitor: To prevent inaccurate readings, discharge the capacitor.
- Attach the Probes: Connect the probes to the capacitor terminals. Initially, you may see a low resistance.
- Observe Resistance Change:
- Good Capacitor: The resistance should increase gradually, reaching infinity (OL on digital meters).
- Defective Capacitor: A low, unchanging resistance indicates a short circuit, while a constant high resistance suggests an open circuit.
Testing a Capacitor with a Continuity Test
For a quick check, you can use the continuity function, which evaluates whether the capacitor can hold and release charge effectively.
- Set the Multimeter to Continuity Mode: Look for the continuity symbol (usually a sound wave icon).
- Connect the Leads: Attach the probes to the capacitor terminals.
- Listen for the Beep:
- Good Capacitor: A short beep indicates the capacitor is charging.
- Faulty Capacitor: A constant beep or silence may indicate a shorted or open capacitor.
Testing a Capacitor Using a Voltmeter
The voltmeter method checks the capacitor’s ability to hold a charge, especially useful in larger electrolytic capacitors.
- Charge the Capacitor: Apply a DC voltage below its rated voltage (e.g., use a 9V source for a 25V capacitor).
- Measure Voltage Across Terminals: After charging, use a voltmeter to measure the voltage across the capacitor.
- Check for Voltage Retention:
- Functional Capacitor: Should hold most of the applied voltage momentarily.
- Defective Capacitor: A quick drop in voltage or an inability to hold charge suggests failure.
Testing a Capacitor Using an ESR Meter
An ESR meter measures the equivalent series resistance (ESR), an important parameter in high-frequency applications like power supplies.
- Set Up the ESR Meter: Power on the ESR meter and calibrate if needed.
- Attach Leads to Capacitor Terminals: Ensure proper contact for accurate readings.
- Read the ESR Value:
- Good Capacitor: ESR value should match or be close to the rated value.
- Bad Capacitor: Higher ESR than expected indicates internal resistance issues.
Advanced Method: Time Constant (RC) Testing
For precise measurements, especially in sensitive circuits, the RC time constant method can confirm capacitance value.
- Set Up with a Known Resistor: Connect a resistor in series with the capacitor.
- Apply Voltage and Measure Time: Measure how long it takes the capacitor to reach 63.2% of the applied voltage (RC time constant).
- Calculate Capacitance:
- Use the formula τ=R×C\tau = R \times Cτ=R×C to solve for capacitance, comparing it to the rated value.
Common Testing Mistakes and Troubleshooting
- Not Fully Discharging: Failing to discharge capacitors may result in inaccurate readings or damage to the multimeter.
- Incorrect Multimeter Settings: Ensure you select the correct mode to avoid misinterpretation.
- Testing In-Circuit: Capacitors in circuits may give inaccurate results. Always test out-of-circuit when possible.
FAQs: Common Questions About Testing Capacitors
1. Can a capacitor be tested without removing it from the circuit?
Testing in-circuit can lead to inaccurate readings, as other components may interfere. For best results, remove the capacitor first.
2. How often should capacitors be tested?
For devices in regular use, test capacitors yearly or when troubleshooting is required.
3. Why is my multimeter showing no reading?
This may indicate a defective capacitor or improper multimeter settings. Check your multimeter mode and ensure full contact with terminals.
Conclusion
Testing capacitors is essential for anyone involved in electronics repair or maintenance. With methods ranging from basic multimeter tests to advanced ESR and time constant calculations, this guide helps you confidently evaluate capacitor health. Remember, regular testing and preventive maintenance are key to ensuring circuit reliability and safety.


