How to Test a Capacitor with a Multimeter: Step-by-Step Guide
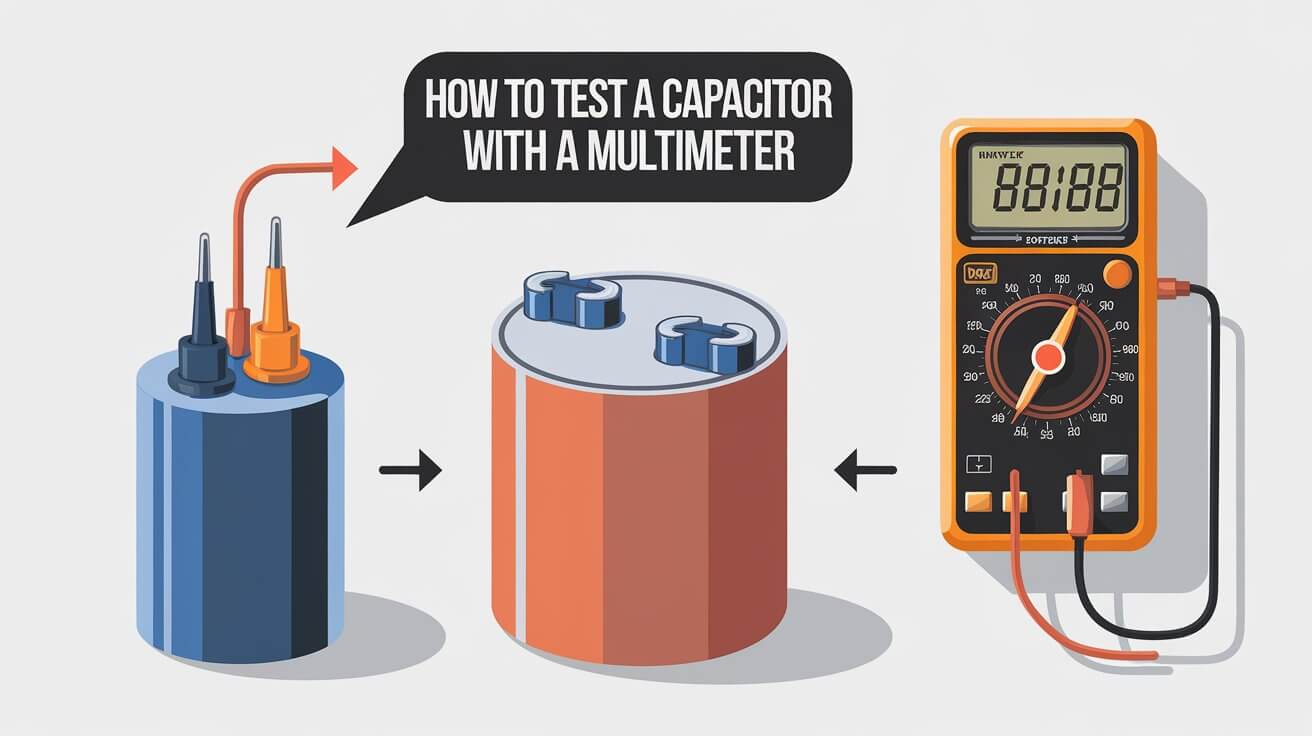
Testing a capacitor with a multimeter is a fundamental skill for anyone working with electronics, whether you’re a hobbyist or a professional technician. Capacitors play a crucial role in circuits by storing and releasing electrical energy, but they can degrade over time, causing malfunctions. In this article, you’ll learn step-by-step instructions on how to test capacitors using a multimeter, safety tips, troubleshooting methods, and advanced testing techniques. By the end, you’ll be able to identify faulty capacitors and ensure your circuits are running smoothly.
Tools and Safety Precautions
Before diving into the testing process, it’s important to gather the right tools and follow essential safety measures.
Tools Required
- Multimeter (digital or analog) with capacitance measurement mode.
- Insulated gloves and protective goggles (recommended).
- Discharge resistor or insulated screwdriver to safely discharge capacitors.
- Optional: ESR (Equivalent Series Resistance) meter for advanced testing.
Safety Tips
- Discharge the capacitor before testing to avoid electrical shocks.
- Do not test capacitors connected to live circuits.
- Use a voltage lower than the capacitor’s rated voltage during the charging process.
- Handle electrolytic capacitors carefully since they are polarized (require correct lead orientation).
What Is a Capacitor and How Does It Work?
A capacitor is an electrical component used to store and release energy. It consists of two conductive plates separated by an insulating material called a dielectric. When voltage is applied across its leads, the capacitor stores energy in the form of an electric field.
Capacitors come in various types, including:
- Electrolytic capacitors: Used for high capacitance values, such as in power supplies.
- Ceramic capacitors: Commonly used for high-frequency circuits.
- Film capacitors: Known for stability and reliability in AC circuits.
Capacitors can degrade over time due to heat, aging, humidity, and overvoltage, which makes regular testing essential for ensuring optimal performance.
Step-by-Step Guide to Testing a Capacitor with a Multimeter
Preparation: Discharging the Capacitor
Discharging a capacitor is critical to prevent electric shock. Here’s how to do it safely:
- Turn off the power to the circuit and disconnect the capacitor.
- Use a discharge resistor or an insulated screwdriver to connect both leads of the capacitor for a few seconds. This ensures that any residual charge is safely dissipated.
- Verify with your multimeter (in voltage mode) that the capacitor reads 0 volts before proceeding.
Testing Using Capacitance Mode
Most modern digital multimeters have a capacitance mode to measure the capacitance directly. Follow these steps:
- Set your multimeter to capacitance mode (marked with the symbol C).
- Connect the probes to the capacitor’s terminals—positive to the anode (longer lead) and negative to the cathode (shorter lead) for electrolytic capacitors.
- Read the value on the multimeter display and compare it to the capacitor’s rated capacitance.
- Good capacitor: The value should be close to the rated capacitance (within tolerance).
- Faulty capacitor: If the measured value is significantly lower, the capacitor may be damaged.
Testing in Resistance (Ohms) Mode
Another way to test a capacitor is using the multimeter’s resistance mode:
- Set the multimeter to the resistance (Ω) setting.
- Place the probes on the capacitor leads. A healthy capacitor will cause the resistance value to increase gradually as it charges.
- Interpretation:
- Good capacitor: Resistance starts low and rises to infinity.
- Faulty capacitor: If the resistance stays low or shows no change, the capacitor is shorted or damaged.
Continuity Mode Test
Some multimeters have a continuity mode that can be useful for quick checks.
- Set the multimeter to continuity mode.
- Connect the probes to the capacitor’s leads.
- Interpretation:
- If you hear a beep, it indicates continuity (the capacitor might be shorted).
- No beep means the capacitor might still be functional but needs further testing.
Visual Inspection and Common Signs of Faulty Capacitors
A visual inspection can often reveal signs of capacitor failure. Look for the following:
- Bulging or swelling on the top or bottom of the capacitor.
- Leaking fluid from electrolytic capacitors.
- Burn marks or discoloration on the capacitor body.
- Loose leads or corrosion on the terminals.
Advanced Testing Techniques
For technicians looking to perform more precise testing, the following advanced methods are helpful:
Time-Constant Testing
The time constant of a capacitor (τ) is calculated as:
τ = R × C
Where R is resistance, and C is capacitance. You can use this to determine how fast the capacitor charges and discharges, which helps verify its functionality.
Voltage Retention Test
- Charge the capacitor briefly with a voltage below its rated value (e.g., apply 9V to a 25V capacitor).
- Disconnect it and measure how long it holds the voltage.
- If the voltage drops too quickly, the capacitor is faulty.
ESR Meter Testing
Use an ESR meter to measure the capacitor’s Equivalent Series Resistance. A high ESR indicates the capacitor’s internal resistance has increased, which reduces its efficiency.
Common Mistakes When Testing Capacitors
Avoid these common mistakes to ensure accurate results:
- Forgetting to discharge the capacitor before testing.
- Using the wrong mode on the multimeter (e.g., measuring capacitance in resistance mode).
- Misinterpreting capacitance tolerance variations as faults.
- Testing without considering polarity for electrolytic capacitors.
FAQs and Troubleshooting Tips
Can I test capacitors without removing them from the circuit?
- Yes, but in-circuit testing may yield inaccurate results due to interference from other components.
What does it mean if my multimeter doesn’t show any value?
- The capacitor might be completely dead, or your multimeter may not support capacitance measurement.
How often should capacitors be tested?
- It’s recommended to test capacitors annually or whenever you notice performance issues in the circuit.
Conclusion
Testing a capacitor with a multimeter is an essential skill for maintaining and troubleshooting electronic circuits. By using your multimeter in capacitance, resistance, or continuity modes, you can quickly determine whether a capacitor is functional or faulty. Regular testing ensures your circuits remain reliable, preventing potential malfunctions caused by degraded capacitors.
Remember to discharge capacitors safely, compare measured values with rated specifications, and use advanced tools like ESR meters if needed. With these methods, you’ll be well-prepared to diagnose capacitor issues accurately and maintain your electronics in top condition.

