How to Test an Oven Outlet: Step-by-Step Guide & Safety Tips
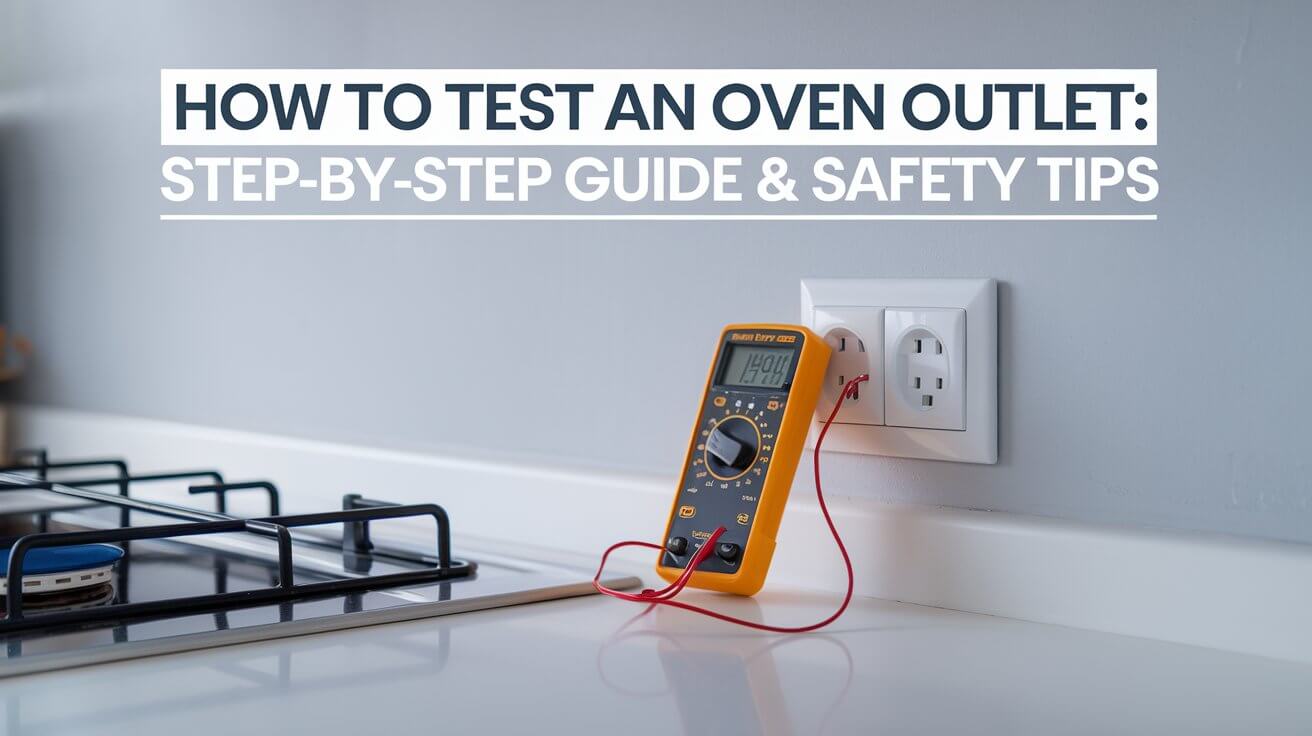
Testing an oven outlet is an essential task for homeowners who want to ensure the safe and efficient operation of their appliance. Whether you’re dealing with an oven that won’t turn on, suspecting power issues, or performing regular maintenance, checking the outlet can help diagnose problems early. This guide will walk you through the step-by-step process of testing an oven outlet safely, using a multimeter and other tools.
Why It’s Important to Test an Oven Outlet
Ensuring that your oven outlet is in good working condition is vital for several reasons. A malfunctioning outlet can pose safety hazards, such as electrical shocks, short circuits, or even fires. Beyond safety, a faulty outlet can cause your oven to perform poorly or not work at all. Testing your outlet allows you to catch potential issues early and make necessary repairs before they escalate.
Avoid Electrical Hazards
A malfunctioning outlet can present a significant safety risk. Loose connections, shorts, or faulty wiring can cause electrical shocks or fire hazards. By testing your outlet, you can detect these problems early and prevent accidents.
Protect Your Oven and Other Appliances
Faulty outlets can damage appliances by providing too much or too little voltage. Ensuring your oven receives the correct voltage helps protect the appliance from internal damage, which could otherwise lead to costly repairs or replacements.
Efficiency and Performance
A working oven outlet ensures that your appliance runs efficiently. If your oven is not getting enough power or is receiving inconsistent voltage, its performance may suffer, resulting in uneven cooking or longer preheating times.
Tools You Need to Test an Oven Outlet
Before diving into the testing process, make sure you have the necessary tools on hand to safely and accurately check your oven outlet. Here’s a list of what you’ll need:
- Multimeter: This tool measures voltage and can detect shorts and faulty wiring in the outlet.
- Screwdriver: A screwdriver will help you access the outlet if it’s covered or mounted behind the oven.
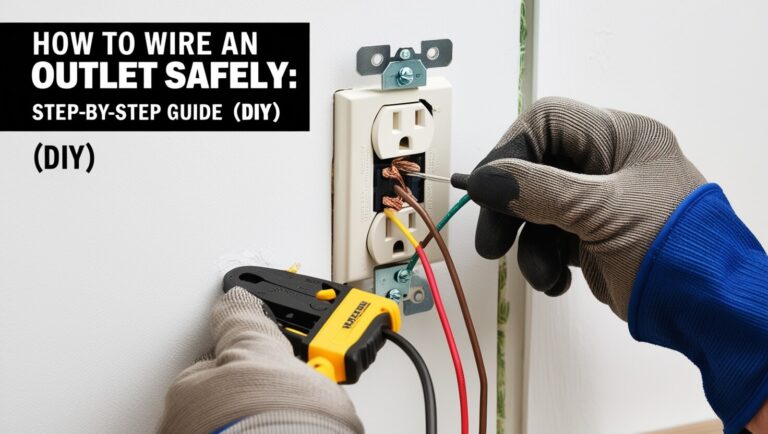
- Rubber Gloves and Safety Glasses: Safety should always be your priority when working with electrical systems, and these items provide an extra layer of protection.
Step-by-Step Guide on How to Test an Oven Outlet
Testing an oven outlet involves checking for the correct voltage and identifying any faults in the wiring or outlet itself. Follow these steps carefully to ensure accurate results.
Step 1: Power Off the Circuit
Before working with any electrical outlet, make sure the power is turned off. Locate the breaker panel and switch off the circuit breaker that controls your oven. If you’re unsure which breaker is connected to the oven, turn off the main breaker to ensure maximum safety.
Always double-check that the oven’s power is off by trying to turn it on or checking the clock or display panel.
Step 2: Identify the Oven Outlet Type
Oven outlets typically use 240V in the United States, while other smaller appliances may use 120V outlets. The most common type of oven outlet will have three or four slots: two live slots, one neutral slot, and sometimes a ground slot.
- 240V Outlet: Two live slots (usually identical in size), one neutral, and sometimes a ground slot. The live slots each provide 120V, which together makes up the 240V supply.
- 120V Outlet: Found with three slots: one live, one neutral, and one ground.
You can visually identify these outlets based on their configuration, but it’s important to confirm the voltage using a multimeter for accuracy.
Step 3: Set Your Multimeter to Measure AC Voltage
A multimeter is a versatile tool that allows you to measure voltage, resistance, and continuity. For this test, you’ll need to set the multimeter to measure AC voltage.
- Plug the black (negative) probe into the multimeter port labeled “COM.”
- Plug the red (positive) probe into the port labeled “VΩmA” or “+.”
- Set the dial to the “AC Voltage” setting. For most ovens, set it to the 600V or 700V range, as this will provide accurate readings for a 240V outlet.
Step 4: Test the Outlet for Voltage
Now that your multimeter is set, it’s time to test the voltage in the outlet.
- Insert the black probe into the neutral or ground slot of the outlet.
- Insert the red probe into one of the live (hot) slots.
- Check the reading on the multimeter.
For a properly functioning 240V outlet, the reading should be between 220V and 240V. If the outlet is a 120V, the reading should be between 110V and 120V.
Repeat this step by testing the second live slot to ensure both sides are providing adequate voltage.
Step 5: Check for Voltage Imbalance or Short Circuits
After testing for voltage, you may want to check each live slot individually for any voltage imbalance. Place the black probe in the neutral slot and the red probe in each live slot, one at a time. Each slot should read approximately 120V in a 240V outlet. If one slot fails to provide voltage, this could indicate a problem with the outlet or wiring.
Additionally, you can test for a short circuit by placing the red probe in the neutral slot and the black probe on any nearby metal surface. If you get any reading on the multimeter, it suggests a short circuit, which will require professional repair.
Step 6: Address Common Issues
Based on the multimeter readings, you can identify several common problems with your outlet:
- No Voltage Detected: If your multimeter shows no voltage, this could be due to a tripped circuit breaker or a faulty GFCI outlet. Reset the breaker and retest the outlet.
- Low Voltage: If the voltage is lower than expected, it may be due to loose connections or wiring issues.
- High Voltage: Excess voltage can damage your oven and other appliances. If the multimeter shows higher than 240V, stop using the outlet and call an electrician immediately.
Safety Precautions When Testing an Oven Outlet
Whenever you’re dealing with electricity, safety should always come first. Here are some essential safety tips to keep in mind while testing your oven outlet:
- Wear Rubber Gloves and Safety Glasses: Even though the power should be off, it’s wise to protect yourself from accidental shocks, especially when working with high-voltage outlets.
- Ensure the Power is Off: Always double-check that the power is off at the circuit breaker before starting your tests.
- Use Proper Equipment: Make sure your multimeter is in good working condition, and avoid using it in wet or damp environments to prevent electrical accidents.
How Often Should You Test an Oven Outlet?
It’s a good practice to test your oven outlet periodically to ensure it’s delivering the correct voltage and is free of faults. You should also test the outlet whenever:
- You’re installing a new oven or replacing an existing one.
- You notice your oven is malfunctioning (e.g., not heating properly or taking too long to cook food).
- There’s a suspected electrical issue, such as frequent tripping of the circuit breaker or sparking from the outlet.
Regular testing will help prevent serious electrical problems and extend the life of your oven.
Troubleshooting Common Problems
If your oven isn’t working correctly, testing the outlet is often the first step in diagnosing the issue. Here are a few common problems and their potential causes:
Oven Won’t Turn On
If your oven isn’t turning on, it’s likely due to a lack of power. Check the outlet voltage using a multimeter. If there’s no power, reset the circuit breaker or check for loose connections.
Intermittent Power Issues
If the oven turns on and off randomly or if the lights flicker, you may have intermittent voltage issues. Loose wiring or a malfunctioning outlet could be the cause, and testing the outlet can confirm if it’s delivering consistent voltage.
Overheating or Damaged Appliances
If your oven is overheating or if other electrical devices are getting damaged when plugged into the same outlet, it might indicate too much voltage is being delivered. High voltage readings are a serious issue and require professional repair to prevent further damage to appliances.
When to Call a Professional Electrician
While testing an oven outlet is something you can do yourself, there are situations where calling a professional electrician is the safer and more effective option. Call an electrician if:
- The voltage readings are outside the expected range.
- You find any signs of burnt wires, sparking, or melted components.
- The circuit breaker trips frequently or won’t reset.
- You’re not confident handling electrical repairs or suspect there’s a larger problem with your home’s electrical system.
Conclusion
Testing your oven outlet is a simple yet important task that helps maintain the safety and efficiency of your kitchen appliances. By following these steps and taking the necessary precautions, you can easily check for voltage issues and address potential problems before they become hazardous. Regular testing and maintenance not only protect your oven but also prevent costly repairs and ensure your home remains safe.
Make sure to test your oven outlet periodically, especially if you’re experiencing power issues, and don’t hesitate to contact a professional electrician if any serious problems arise.

