How to Test an Alternator with a Multimeter: Step-by-Step Guide

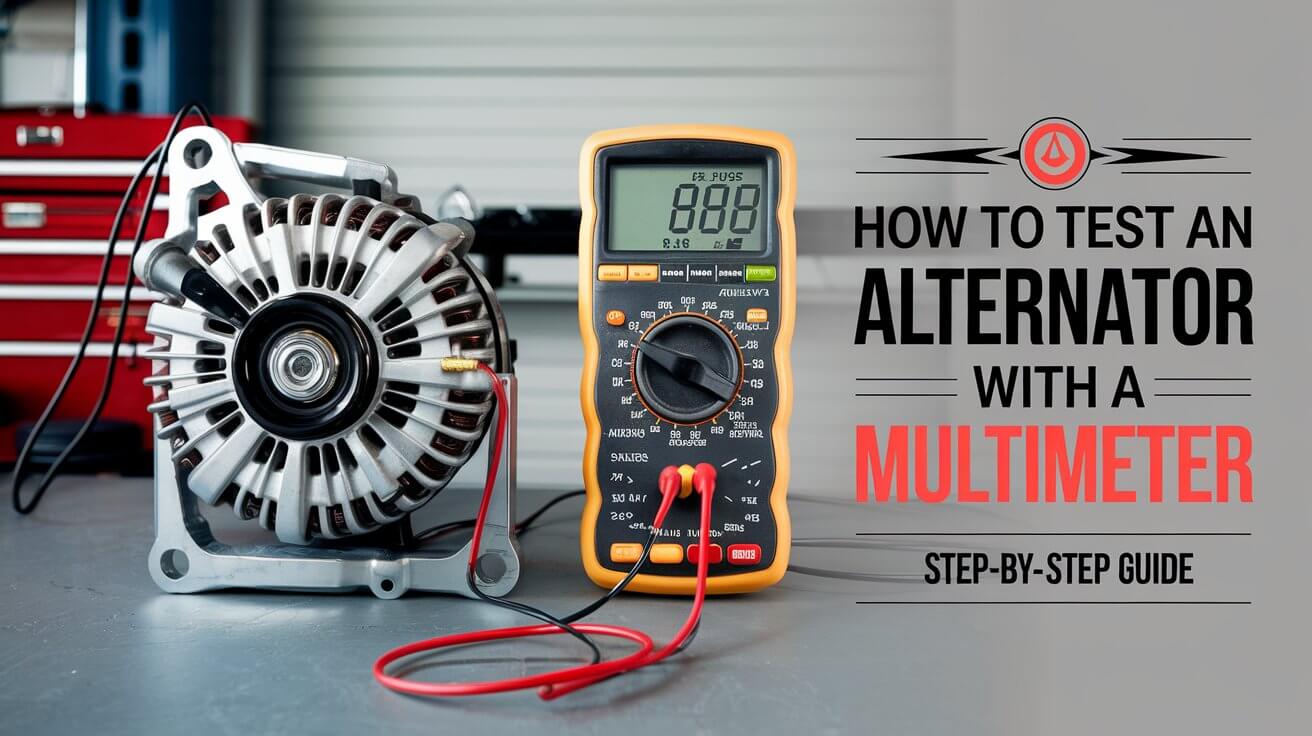
An alternator is a critical component of a vehicle’s electrical system, responsible for keeping the battery charged and powering various electrical accessories while the engine runs. If your car is experiencing electrical issues, dimming headlights, or trouble starting, it might be due to a faulty alternator. Testing the alternator with a multimeter is one of the easiest and most accurate ways to diagnose these problems. In this article, we’ll explain how to test an alternator with a multimeter, step by step, along with additional tips and common troubleshooting scenarios.
What is an Alternator?
The alternator is essentially a generator that converts mechanical energy from the engine into electrical energy to charge the battery and power electrical systems in your vehicle. It plays a vital role in maintaining the car’s functionality by supplying power to critical components like the lights, radio, and even the air conditioning system while driving. Without a properly functioning alternator, your car will rely solely on the battery, which will eventually drain, leading to issues like a dead battery or a car that won’t start.
Components of an Alternator
An alternator consists of the following key parts:
- Rotor and Stator: These are responsible for generating electricity by rotating inside the alternator, creating alternating current (AC).
- Rectifier: Converts the alternating current generated into direct current (DC), which is used by the vehicle’s electrical system.
- Voltage Regulator: Ensures the alternator produces a consistent voltage (usually between 13.8 and 14.5 volts) to charge the battery without overloading it.
- Brushes and Slip Rings: These help maintain an electrical connection with the rotor as it spins inside the alternator.
Understanding these components can help when diagnosing alternator issues.
Symptoms of a Bad Alternator
Before we dive into testing the alternator, it’s important to know the common signs of a failing alternator. Identifying these symptoms early can save you from bigger problems down the road.
Dashboard Warning Light
Most modern vehicles have a dashboard warning light, often resembling a battery icon, that indicates a problem with the charging system. While this light might seem to suggest a bad battery, it’s more likely that the alternator is to blame.
Dimming or Flickering Lights
If the headlights or dashboard lights dim or flicker, particularly when the engine is idling or when using accessories like air conditioning, this could point to an alternator issue. A weak alternator may not generate enough power to meet the electrical demands.
Electrical Failures
Other electrical components, such as power windows, radios, or windshield wipers, may begin to work intermittently or fail altogether if the alternator isn’t providing adequate power.
Strange Noises
A failing alternator may emit unusual sounds, such as grinding or whining. This can be caused by worn-out bearings or internal component issues.
Battery Problems
Even though your battery might seem like the culprit, a failing alternator can actually cause a perfectly good battery to drain. The alternator’s job is to keep the battery charged; if it’s not working correctly, the battery will lose power.
Tools You Will Need
To test your alternator, you’ll need the following tools:
- Digital Multimeter: A multimeter measures voltage, current, and resistance. For alternator testing, we will focus on voltage.
- Vehicle Repair Manual: This can help you locate your alternator and any potential electrical diagrams you may need.
- Safety Gear: Gloves and goggles to ensure safety during testing.
Setting Up Your Multimeter
Before starting, ensure your multimeter is working correctly by setting it to measure DC voltage (usually indicated with a solid line over a dashed line). The range should be set to 20V DC if it’s a manually ranged multimeter.
Testing an Alternator with a Multimeter: Step-by-Step Guide
Step 1: Initial Battery Check
Start by checking the battery voltage when the car is turned off.
- Turn off the engine and make sure no electrical components are running.
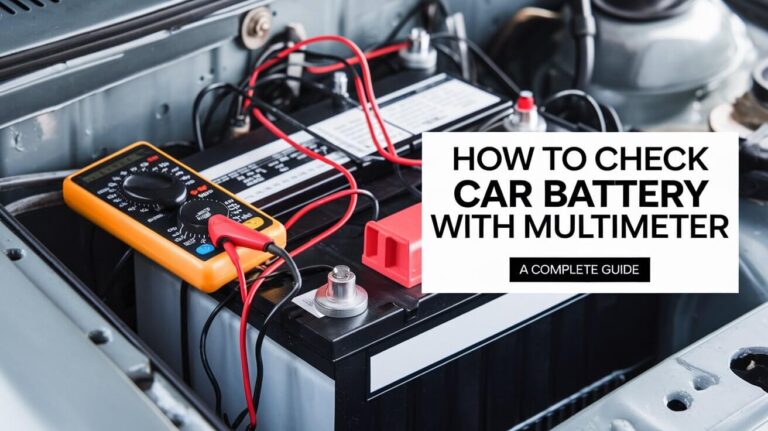
- Connect the red probe of the multimeter to the positive terminal of the battery and the black probe to the negative terminal.
- Look at the voltage reading. A fully charged battery should read between 12.4V and 12.6V. If the reading is below 12.4V, the battery may not have enough charge, and it’s a good idea to check it before proceeding.
Step 2: Start the Engine and Recheck Voltage
Now, start the engine to check the alternator’s output.
- With the engine running, place the multimeter probes back onto the battery terminals.
- The voltage should now read between 13.8V and 14.5V, indicating the alternator is working properly and charging the battery.
- If the voltage is below 13.8V, the alternator may not be charging properly. If it’s above 14.5V, the alternator is overcharging, which can damage the battery.
Step 3: Test Alternator Under Load
To see how the alternator performs under load, turn on several electrical components, such as the headlights, radio, and air conditioning.
- With these accessories running, check the voltage reading again.
- The voltage should remain between 13.8V and 14.2V. If it drops significantly below this, the alternator may not be able to handle the load.
Step 4: Check Alternator Belt and Connections
If the alternator’s voltage is off, the issue might not be the alternator itself but rather a loose belt or faulty connections.
- Inspect the alternator belt for wear, cracks, or looseness. If the belt is slipping, it won’t allow the alternator to generate power efficiently.
- Check the electrical connections between the alternator and the battery. Loose or corroded connections can cause voltage drops and lead to undercharging.
Step 5: Perform a Diode Test
Some multimeters come with a diode testing mode, which can check if the alternator’s internal diodes are functioning properly.
- Switch the multimeter to diode mode (symbolized by a triangle with a line through it).
- Disconnect the alternator and place the red probe on the positive terminal and the black probe on the negative terminal of the alternator.
- A reading of 0.5 to 0.8 volts indicates the diode is working properly. A reading of 0 or infinity suggests a diode failure.
Voltage Readings and What They Mean
Understanding the multimeter readings is crucial for determining the health of your alternator.
- 12.4V to 12.6V: This indicates a fully charged battery when the engine is off.
- 13.8V to 14.5V: The ideal voltage range when the engine is running, signifying a healthy alternator.
- Below 13.8V: Possible issues include a weak alternator or poor connections.
- Above 14.5V: This suggests the alternator is overcharging, which can damage the battery or other electrical components.
Common Mistakes to Avoid
When testing an alternator with a multimeter, avoid these common mistakes:
- Misinterpreting Dashboard Lights: The battery warning light doesn’t always mean the battery is faulty—it often points to the alternator.
- Not Checking All Connections: Ensure all connections between the alternator, battery, and ground points are secure and corrosion-free.
- Not Revving the Engine: To get an accurate reading, especially for underperformance, make sure to rev the engine to about 2000 RPM.
- Ignoring Noises: Don’t overlook unusual sounds from the alternator; they could indicate mechanical failure.
Troubleshooting: What to Do if the Alternator is Fine but the Problem Persists
If your alternator tests fine but the problem persists, consider the following possibilities:
- Electrical Faults in Other Components: Fuses, wiring, or sensors might be faulty, leading to electrical problems despite a functioning alternator.
- Bad Battery: Sometimes, even if the alternator is working correctly, the battery could be too old or damaged to hold a charge.
- Wiring and Grounding Issues: Inspect all wiring and ground straps for signs of wear or corrosion.
In more complex cases, it’s best to consult a professional mechanic to diagnose the issue further.
FAQ: Common Questions about Testing Alternators
Can I test an alternator without a multimeter?
Yes, though less precise, you can test an alternator by observing electrical behaviors, like dimming headlights or flickering dash lights. However, a multimeter provides accurate voltage readings and should be the preferred tool.
How often should I test my alternator?
It’s a good idea to check the alternator whenever your car shows electrical issues, or during routine maintenance. If your vehicle is older or has experienced electrical problems in the past, testing it every few months can help prevent sudden failures.
What should I do if my alternator is overcharging?
Overcharging can damage the battery and other components. If your alternator is producing more than 14.5 volts, the voltage regulator might be faulty. Have it replaced immediately to avoid further damage.
Can a failing alternator damage other parts of the car?
Yes, a failing alternator can lead to battery damage, starting issues, and even problems with the car’s electrical systems. If left unaddressed, it can also affect the starter motor and electronic control systems.
Conclusion
Testing your alternator with a multimeter is a straightforward process that can save you time andst money down the road. Keep an eye out for common signs like dashboard warning lights, dimming lights, or electrical failures, and take action early if you suspect an alternator issue. Whether you’re experiencing symptoms or performing routine maintenance, a quick multimeter test can reveal whether your alternator is working as it should. By following this guide, you’ll not only save yourself time and potential headaches but also avoid the higher costs of professional repairs.
If you’re unsure about your readings or the problem persists even after testing, consulting a professional mechanic may be necessary. Regular alternator testing can prevent issues from becoming more serious, keeping your vehicle running smoothly and safely for years to come.


