How to Use a Multimeter: Measure Voltage, Current, Resistance
A multimeter is an essential tool for anyone working with electrical circuits, appliances, or electronics. It measures voltage, current, resistance, and continuity—helping users troubleshoot circuits and diagnose faulty components. Whether you are a beginner or experienced technician, learning how to use a multimeter properly ensures safety and accuracy. In this guide, we will walk through the key features, measurements, and safety tips so you can confidently use your multimeter in various applications.
Parts and Features of a Multimeter
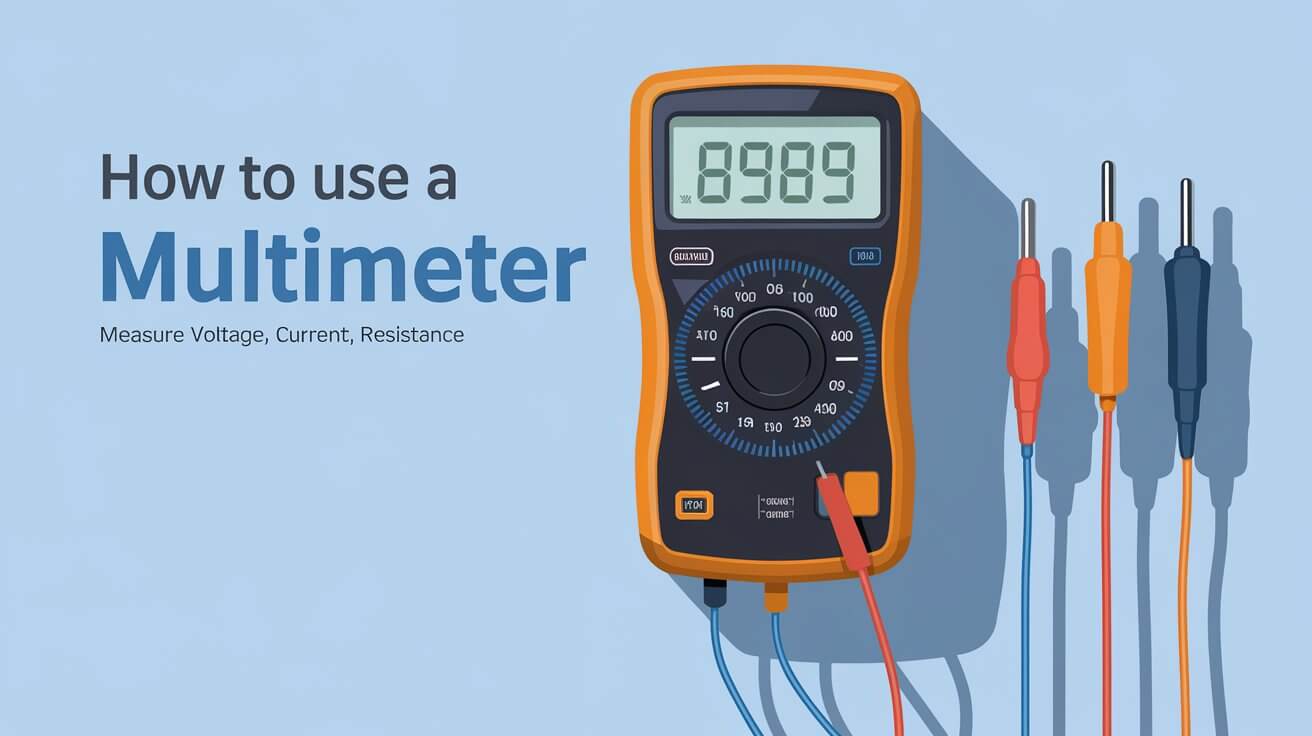
A multimeter consists of several key parts that help measure electrical properties accurately. Below is a breakdown of its main components and their roles.
Display
The display shows the readings for measurements. Digital multimeters typically use LCD screens, while older analog models have a moving needle.
Rotary Dial (Selection Knob)
This dial allows you to choose the measurement type:
- V~: AC voltage
- V⎓: DC voltage
- Ω: Resistance
- A / mA: Current (Amps or milliamps)
- Continuity or Diode Mode: Usually marked with a speaker or diode symbol
Probes (Test Leads)
Multimeters come with two probes—black (common/ground) and red (positive). These are connected to ports on the multimeter and are used to touch the points on the circuit being tested.
Ports
- COM Port: Connects the black probe and serves as the common (ground) port.
- mAVΩ Port: For measuring low current, voltage, and resistance.
- 10A Port: Used for measuring higher currents (above 200 mA).
Essential Safety Tips
Working with electrical circuits carries some risks, so it’s important to follow safety guidelines.
- Turn off the power before measuring resistance or continuity to avoid shocks.
- Use insulated gloves when working on high-voltage circuits.
- Select the correct mode on the dial to prevent damage to the multimeter or the circuit.
- Avoid touching probe tips together when connected to a live circuit, as this can cause short circuits.
- For AC voltage tests, use extra caution as it’s more dangerous than DC.
Measuring Different Parameters with a Multimeter
Learning how to measure voltage, current, resistance, and continuity is essential for diagnosing problems and ensuring circuits function properly.
Measuring Voltage
Voltage can be measured across any two points in a circuit to determine how much electrical potential exists between them.
How to Measure DC Voltage
- Set the dial to V⎓.
- Connect the black probe to the COM port and the red probe to the VΩ port.
- Place the black probe on the ground or negative terminal, and the red probe on the positive terminal.
- Read the voltage value on the display.
Example: Checking the voltage of a 1.5V AA battery.
How to Measure AC Voltage
- Set the dial to V~.
- Insert the black probe into the COM port and the red probe into the VΩ port.
- Touch the probes to the two points in the circuit (e.g., an electrical outlet).
- Take note of the voltage reading—standard home outlets should read around 120V or 240V, depending on your country.
Measuring Current (Amps)
Current measurement requires inserting the multimeter in series with the circuit.
Steps to Measure Current
- Turn off the circuit’s power.
- Set the multimeter to A or mA mode depending on the expected current.
- Insert the black probe into the COM port and the red probe into the 10A or mAVΩ port.
- Open the circuit and connect the probes in series (one before the component and one after).
- Turn on the power and note the current reading on the display.
Tip: If using a clamp meter attachment, you can measure current by clamping it around a live wire without breaking the circuit.
Measuring Resistance
Resistance is the measure of how much a component resists the flow of current, often used to test resistors.
Steps to Measure Resistance
- Set the dial to Ω.
- Insert the black probe into the COM port and the red probe into the VΩ port.
- Touch the probes to each end of the resistor or component.
- Read the resistance value displayed (in ohms).
Tip: Always disconnect power before measuring resistance to avoid damaging the multimeter.
Checking Continuity
The continuity mode tests whether a circuit is complete (closed) or has a break (open).
Steps to Test Continuity
- Set the dial to continuity mode (look for the speaker symbol).
- Connect the probes to the two ends of the wire or circuit.
- If the circuit is closed, the multimeter will emit a beep.
- If there is no sound, the circuit is open or the wire is faulty.
Practical Applications of a Multimeter
Testing Electrical Outlets
- Set the multimeter to V~ mode to check if the outlet is supplying power.
- A healthy outlet should read around 120V to 240V, depending on your location.
Testing Batteries
- Use the DC voltage setting to check if batteries are still good.
- Example: A new AA battery should read around 1.5V.
Automotive Diagnostics
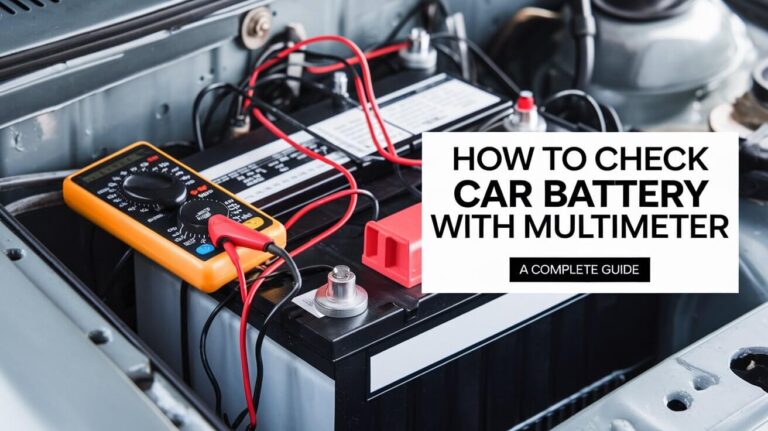
- Test car batteries by measuring voltage. A fully charged 12V battery should read 12.6V or higher.
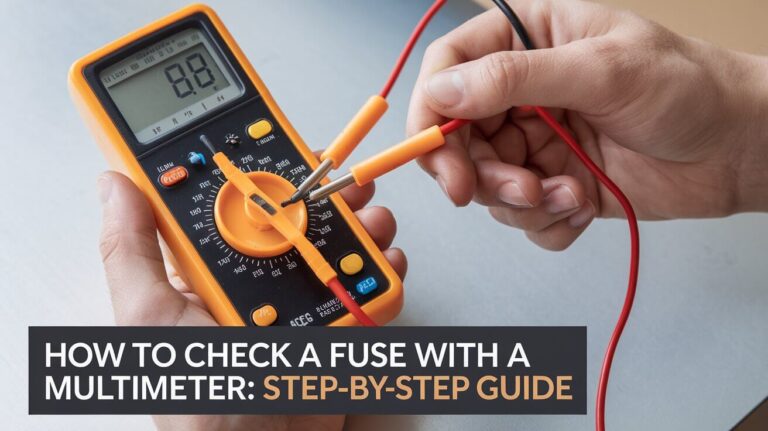
- Use continuity mode to check fuses and wiring connections.
Troubleshooting Electronic Devices
- Test resistors, diodes, and capacitors using resistance and continuity modes.
- Measure the voltage drop across components to identify issues in circuits.
Tips for Beginners
- Practice on simple circuits like AA batteries or LEDs before moving to more complex tasks.
- Start with auto-ranging mode if available, as it simplifies measurements.
- Use alligator clips for hands-free measurements.
- If the display shows no reading, double-check connections and settings.
Common Errors and How to Avoid Them
- Incorrect port usage: Make sure the red probe is connected to the correct port (e.g., 10A for high currents).
- Wrong range selection: Start with the highest range and lower it gradually to prevent overload.
- Measuring resistance on a live circuit: Always turn off the power before testing resistance.
Choosing the Right Multimeter
- Digital vs. Analog: Digital models are easier to read, while analog ones are better for detecting fluctuations.
- Auto-Ranging vs. Manual: Auto-ranging models adjust ranges automatically, making them more user-friendly.
- Professional vs. Budget Options: Brands like Fluke offer premium models, while cheaper alternatives may suit occasional users.
Maintenance and Calibration
- Clean the probes regularly to maintain accuracy.
- Replace batteries when the display dims or behaves erratically.
- Calibrate your multimeter periodically to ensure accurate measurements, especially for professional use.
Conclusion
Using a multimeter is a valuable skill for anyone working with electronics or electrical systems. By mastering how to measure voltage, current, resistance, and continuity, you can easily diagnose and troubleshoot a wide range of issues. With safety precautions in place, a multimeter simplifies everything from checking batteries to repairing home appliances. Practice regularly, stay mindful of safety, and soon you’ll handle your multimeter like a pro.

