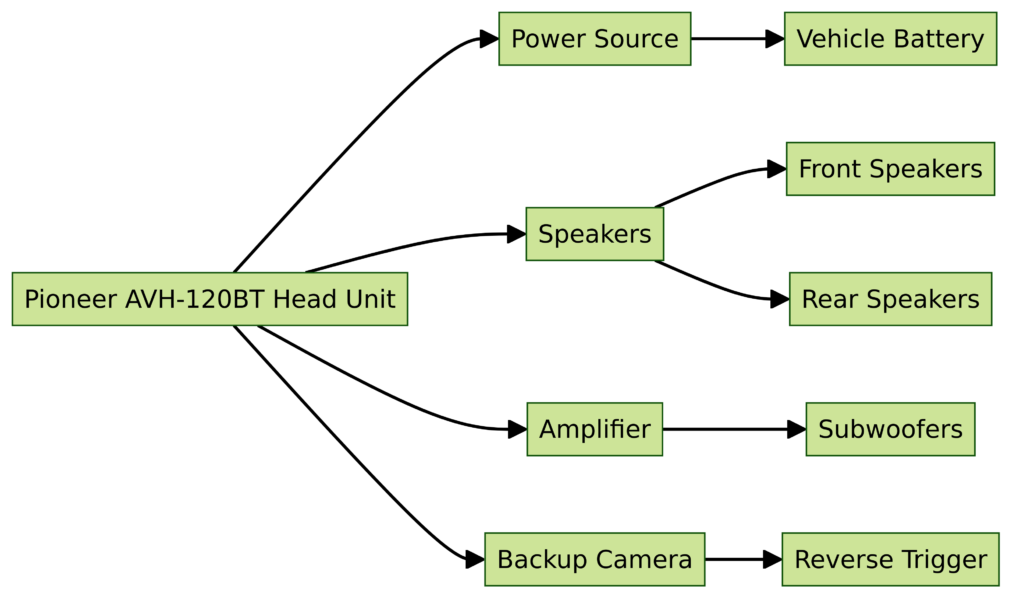
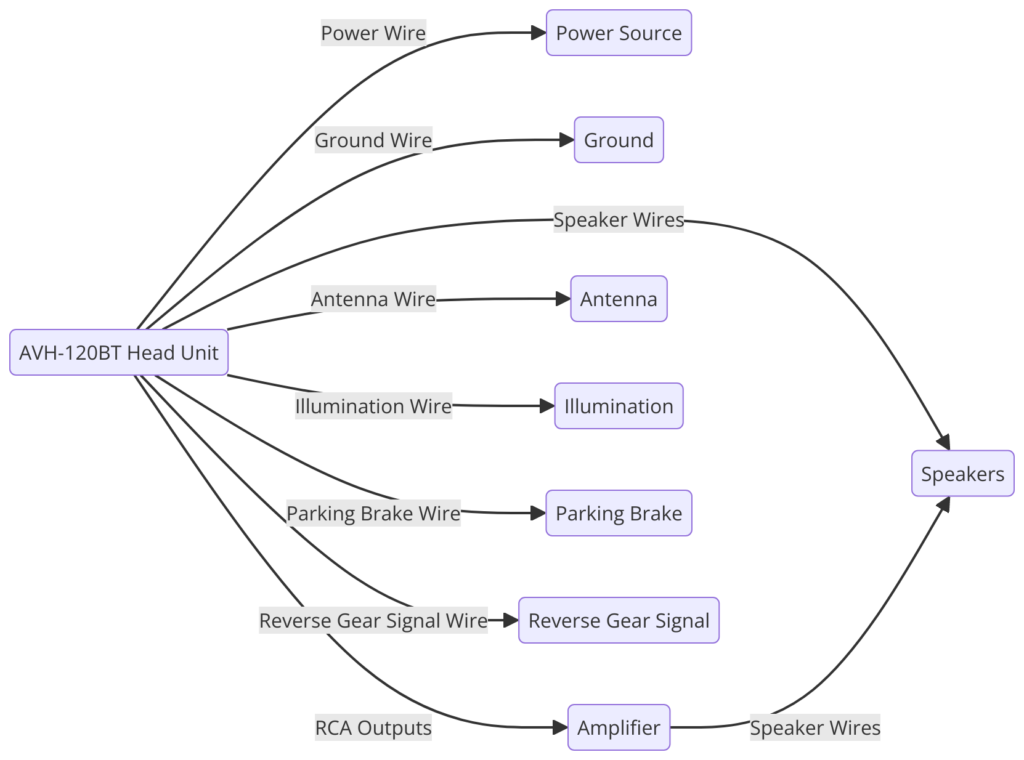
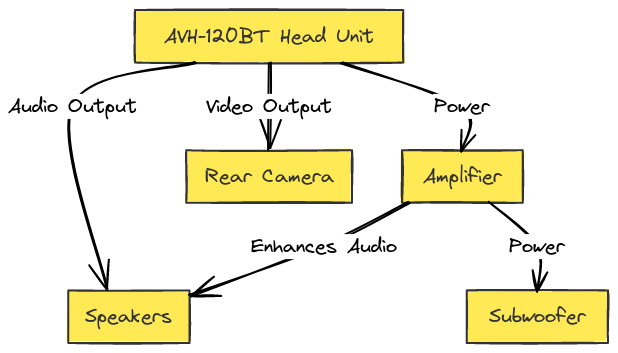
Pioneer AVH-120BT Wiring Diagram
The Pioneer AVH-120BT is a double DIN multimedia car receiver with a 6.2” WVGA touchscreen display. Key features of this Pioneer Bluetooth car stereo include:
- Built-in Bluetooth for hands-free calling and wireless audio streaming
- MIXTRAX technology for creating non-stop mixes of your music library
- USB port for playing music from flash drives
- Direct control and album art display for iPod/iPhone
- Pandora radio integration
- WVGA touchscreen with customizable user interface
With a powerful built-in amplifier, 5 band equalizer, and 3 sets of RCA pre-outs, the Pioneer AVH-120BT provides top quality sound. Understanding the wiring diagram is crucial to proper installation and realizing the full potential of this car audio receiver.
Pioneer AVH-120BT Wiring Diagrams
Diagram 1:

Diagram 2:

Diagram 3:

Diagram 4:

Diagram 5:

Overview of Wiring Diagram for Pioneer AVH-120BT
The wiring diagram and connector pinouts are located in the user manual. Here’s a quick overview of what the diagram includes:
Power Connectors
These connect the head unit to vehicle power supply:
- Yellow Wire – Constant 12V Battery
- Red Wire – Accessory 12V Power
- Black Wire – Vehicle Body Ground
Speaker Connectors
These send amplified audio signal to speakers:
- White Wire – Front Left +
- White/Black Wire – Front Left –
- Gray Wire – Front Right +
- Gray/Black Wire – Front Right –
- Green Wire – Rear Left +
- Green/Black Wire – Rear Left –
- Purple Wire – Rear Right +
- Purple/Black – Rear Right –
Other Connectors
Additional connectors include:
- Blue/White Wire – Remote Amp Turn On Lead
- Brown Wire – Parking Brake Detection Input
How to Read the Pioneer AVH-120BT Wiring Diagram
Below are some tips for reading and understanding the Pioneer AVH-120BT wiring diagram:
Wire Colors
The different wire colors represent different audio channels and power sources. Match the colors on installation harness to head unit wiring diagram colors.
Connector Pin Locations
The wiring diagram shows what each pin slot on the connector is for. Make sure wires go into correct pins marked on car stereo header.
Power Wires
Yellow wire must connect to constant 12V source and red wire to accessory 12V source. Connect black ground wire securely or unit will not power on.
Polarity Symbols
Note + and – symbols showing polarity of left/right speaker channels. Reverse wiring can result in poor speaker performance.
Function Labels
Labels indicate function of each wire. Example: “REM OUT” goes to amp remote turn-on. These help identify loose or unconnected wires.
Final Tips for Installation
Here are some other tips to ensure smooth installation of your Pioneer AVH-120BT using the wiring diagram:
- Use proper crimping technique and heat shrink connections for solid contact
- Double check wires are going into correct connector pin slots
- Test speaker polarity with 1.5V battery to confirm + and –
- Check for loose bare wires or bad ground connection
- Review steering wheel control module diagrams if integrating
Properly going over the Pioneer AVH-120BT wiring diagram prior to installation is the best way to ensure seamless connectivity with your car’s electrical system. Taking the time to understand the car stereo wire functions will save you lots of headache and troubleshooting down the road.
If you still have questions about the wiring even after careful review, don’t hesitate to consult professional installation experts. With the right wiring know-how, your Pioneer Bluetooth car stereo will deliver amazing audio performance for years to come.
